
Eyeliner Tattoo 101
I don’t presume to know everything about eyeliner tattoo, but there isn’t much content online about people’s personal experiences with it. So obviously, I’ll be documenting mine!
About 11 months after I got my eyebrows microbladed, I decided to get a touch up before the 1 year, and also get my eyeliner tattooed by the same artist, Soo. I liked what she’d done with my brows and her reviews for eyeliner were also stellar. I did as much research I could before deciding to bite the bullet, and even created a poll on my insta stories to get opinions from friends. The majority voted no, that I shouldn’t get my eyeliner tattooed, but that only made me more sure that I wanted to.
The Procedure
Overall, the eyeliner tattoo took about 75 minutes. Soo touched up on my brows first, which took a little over half an hour, before working on the hard stuff. First, she drew on a simple design with regular eyeliner with wings that I can never, for the life of me, get right. My friend Jessica drove with me to see Soo, and the three of us decided that the wing was too dramatic and that I should go for a more natural look and can enhance the wing with normal eyeliner if I wanted more definition.
After we settled on a pretty simple line, Soo got to work by first numbing my eyelids. She smeared some numbing cream on and covered my eyes in what I think were damp cotton pads. I tried my best to take a photo of myself but I only got as far as opening the camera on my phone and taking a picture of the ceiling. I couldn’t get the front-facing camera working with my eyes closed!
After about 10 minutes, in which a bit of the cream got into my left eye and stung just a bit, Soo began tattooing my right eyelid. She cleaned up the numbing cream and first started inserting jet black pigment over the tip of my eyelid with a vibrating needle. I was NOT prepared for the pain that came. I would definitely recommend bringing a stress ball or something to clench in your fist, because I had to fight very hard not to move my head while Soo tattooed the pigments in. Once she satisfactorily scraped along my eyelid, she got out her small forked needle that she uses for microblading brows (it might be a different tool), to then scratch into the eyeliner in what felt like fine strokes. Because I couldn’t see what was going on, I assumed she was filling in gaps that the machine needle couldn’t get. This hurt less and was similar to microblading. Soo had to take out the machine needle again to do one last sweep before covering my swollen eyelid in some soothing ointment and another set of damp cotton pads. She also let my eyes rest under an iced eye mask to reduce the swelling.
My left eyelid didn’t hurt as much, probably because I was expecting the same pain, but also the left side had more time to numb. So it was more bearable, though I was definitely counting down the seconds until she was done using that awful machine needle. Once both eyes were done, Soo did use a lot of eye drops to flush out pigments from my eyes and took care to keep my hair and face dry.
I checked the eyeliner tattoo on both eyes to see if they were even, and then Soo made any corrections as needed. My eyes were swollen on both upper and lower eyelids because your eyeball WILL be prodded and touched. I think Soo could have done a more delicate job in being more gentle, but I knew she was worried about my sensitivity and pain, and wanted to work as quickly and efficiently as possible.
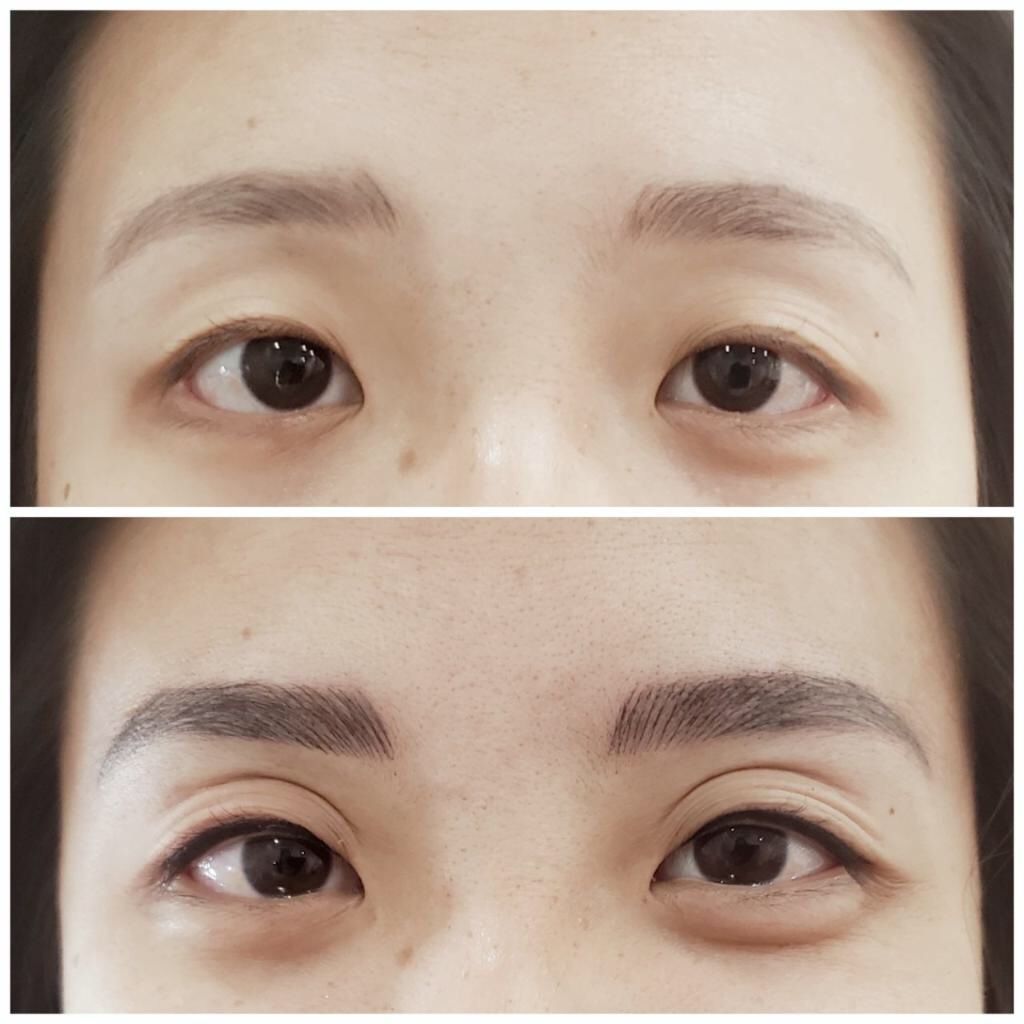
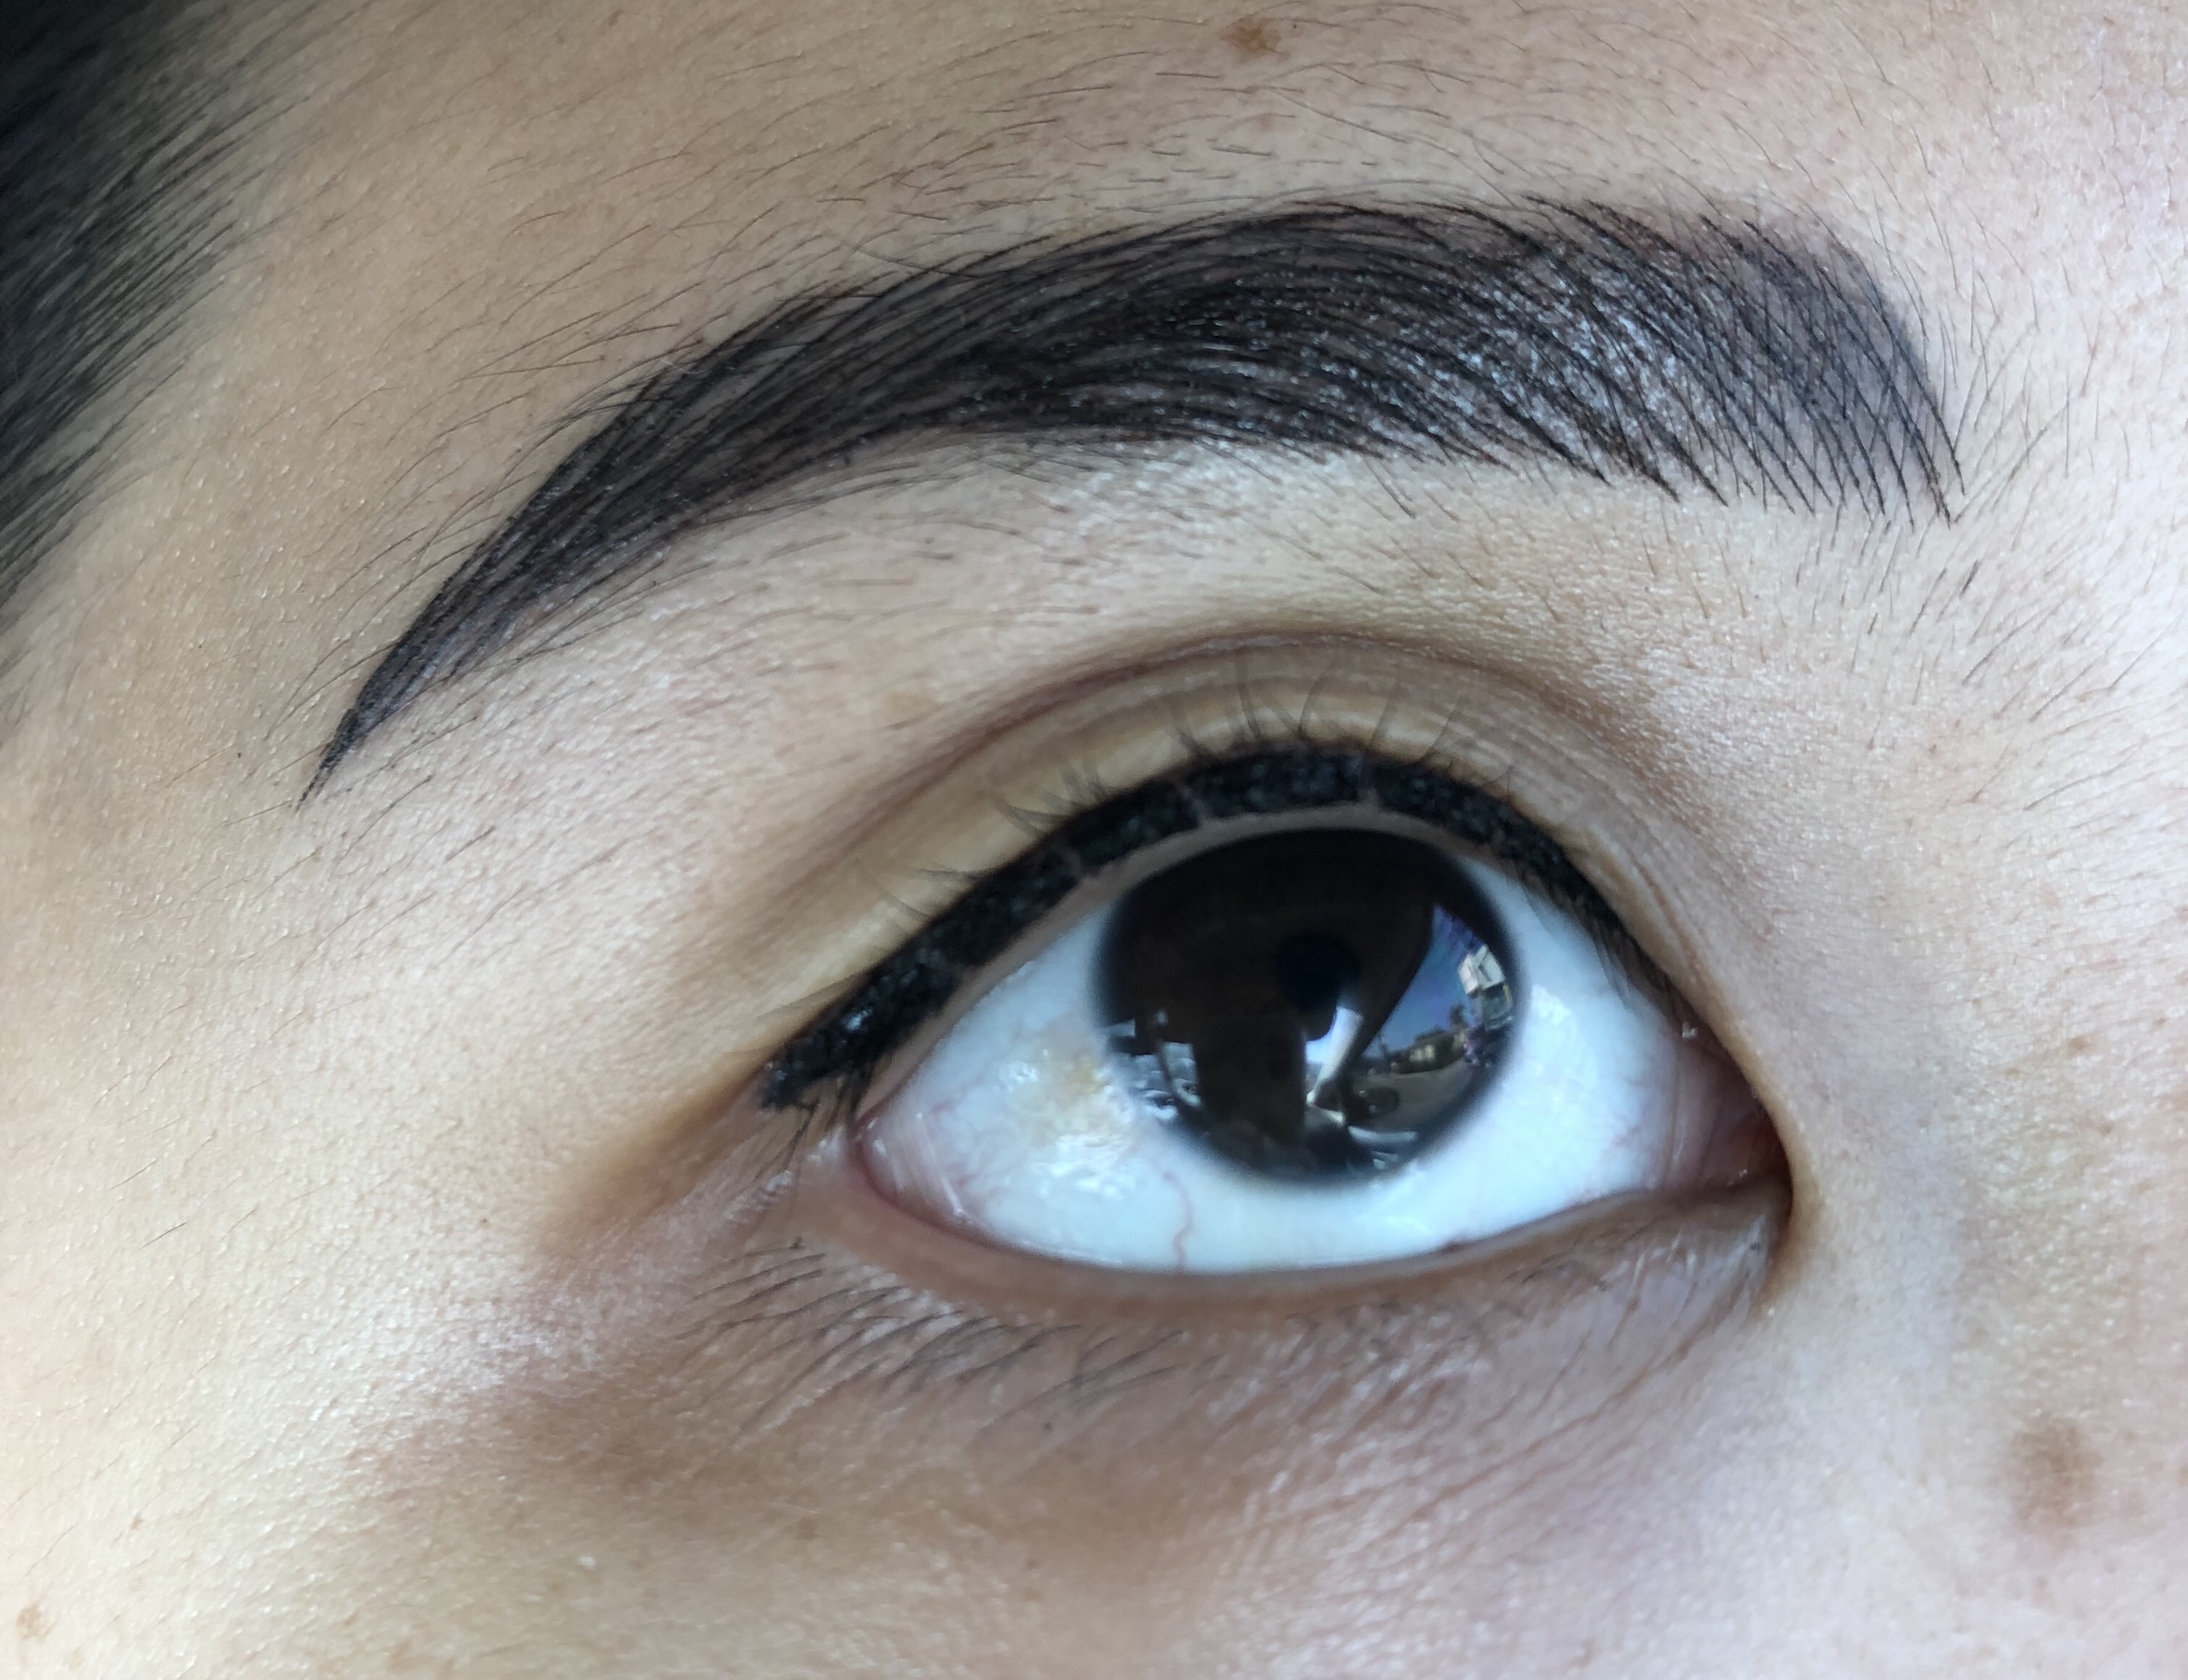
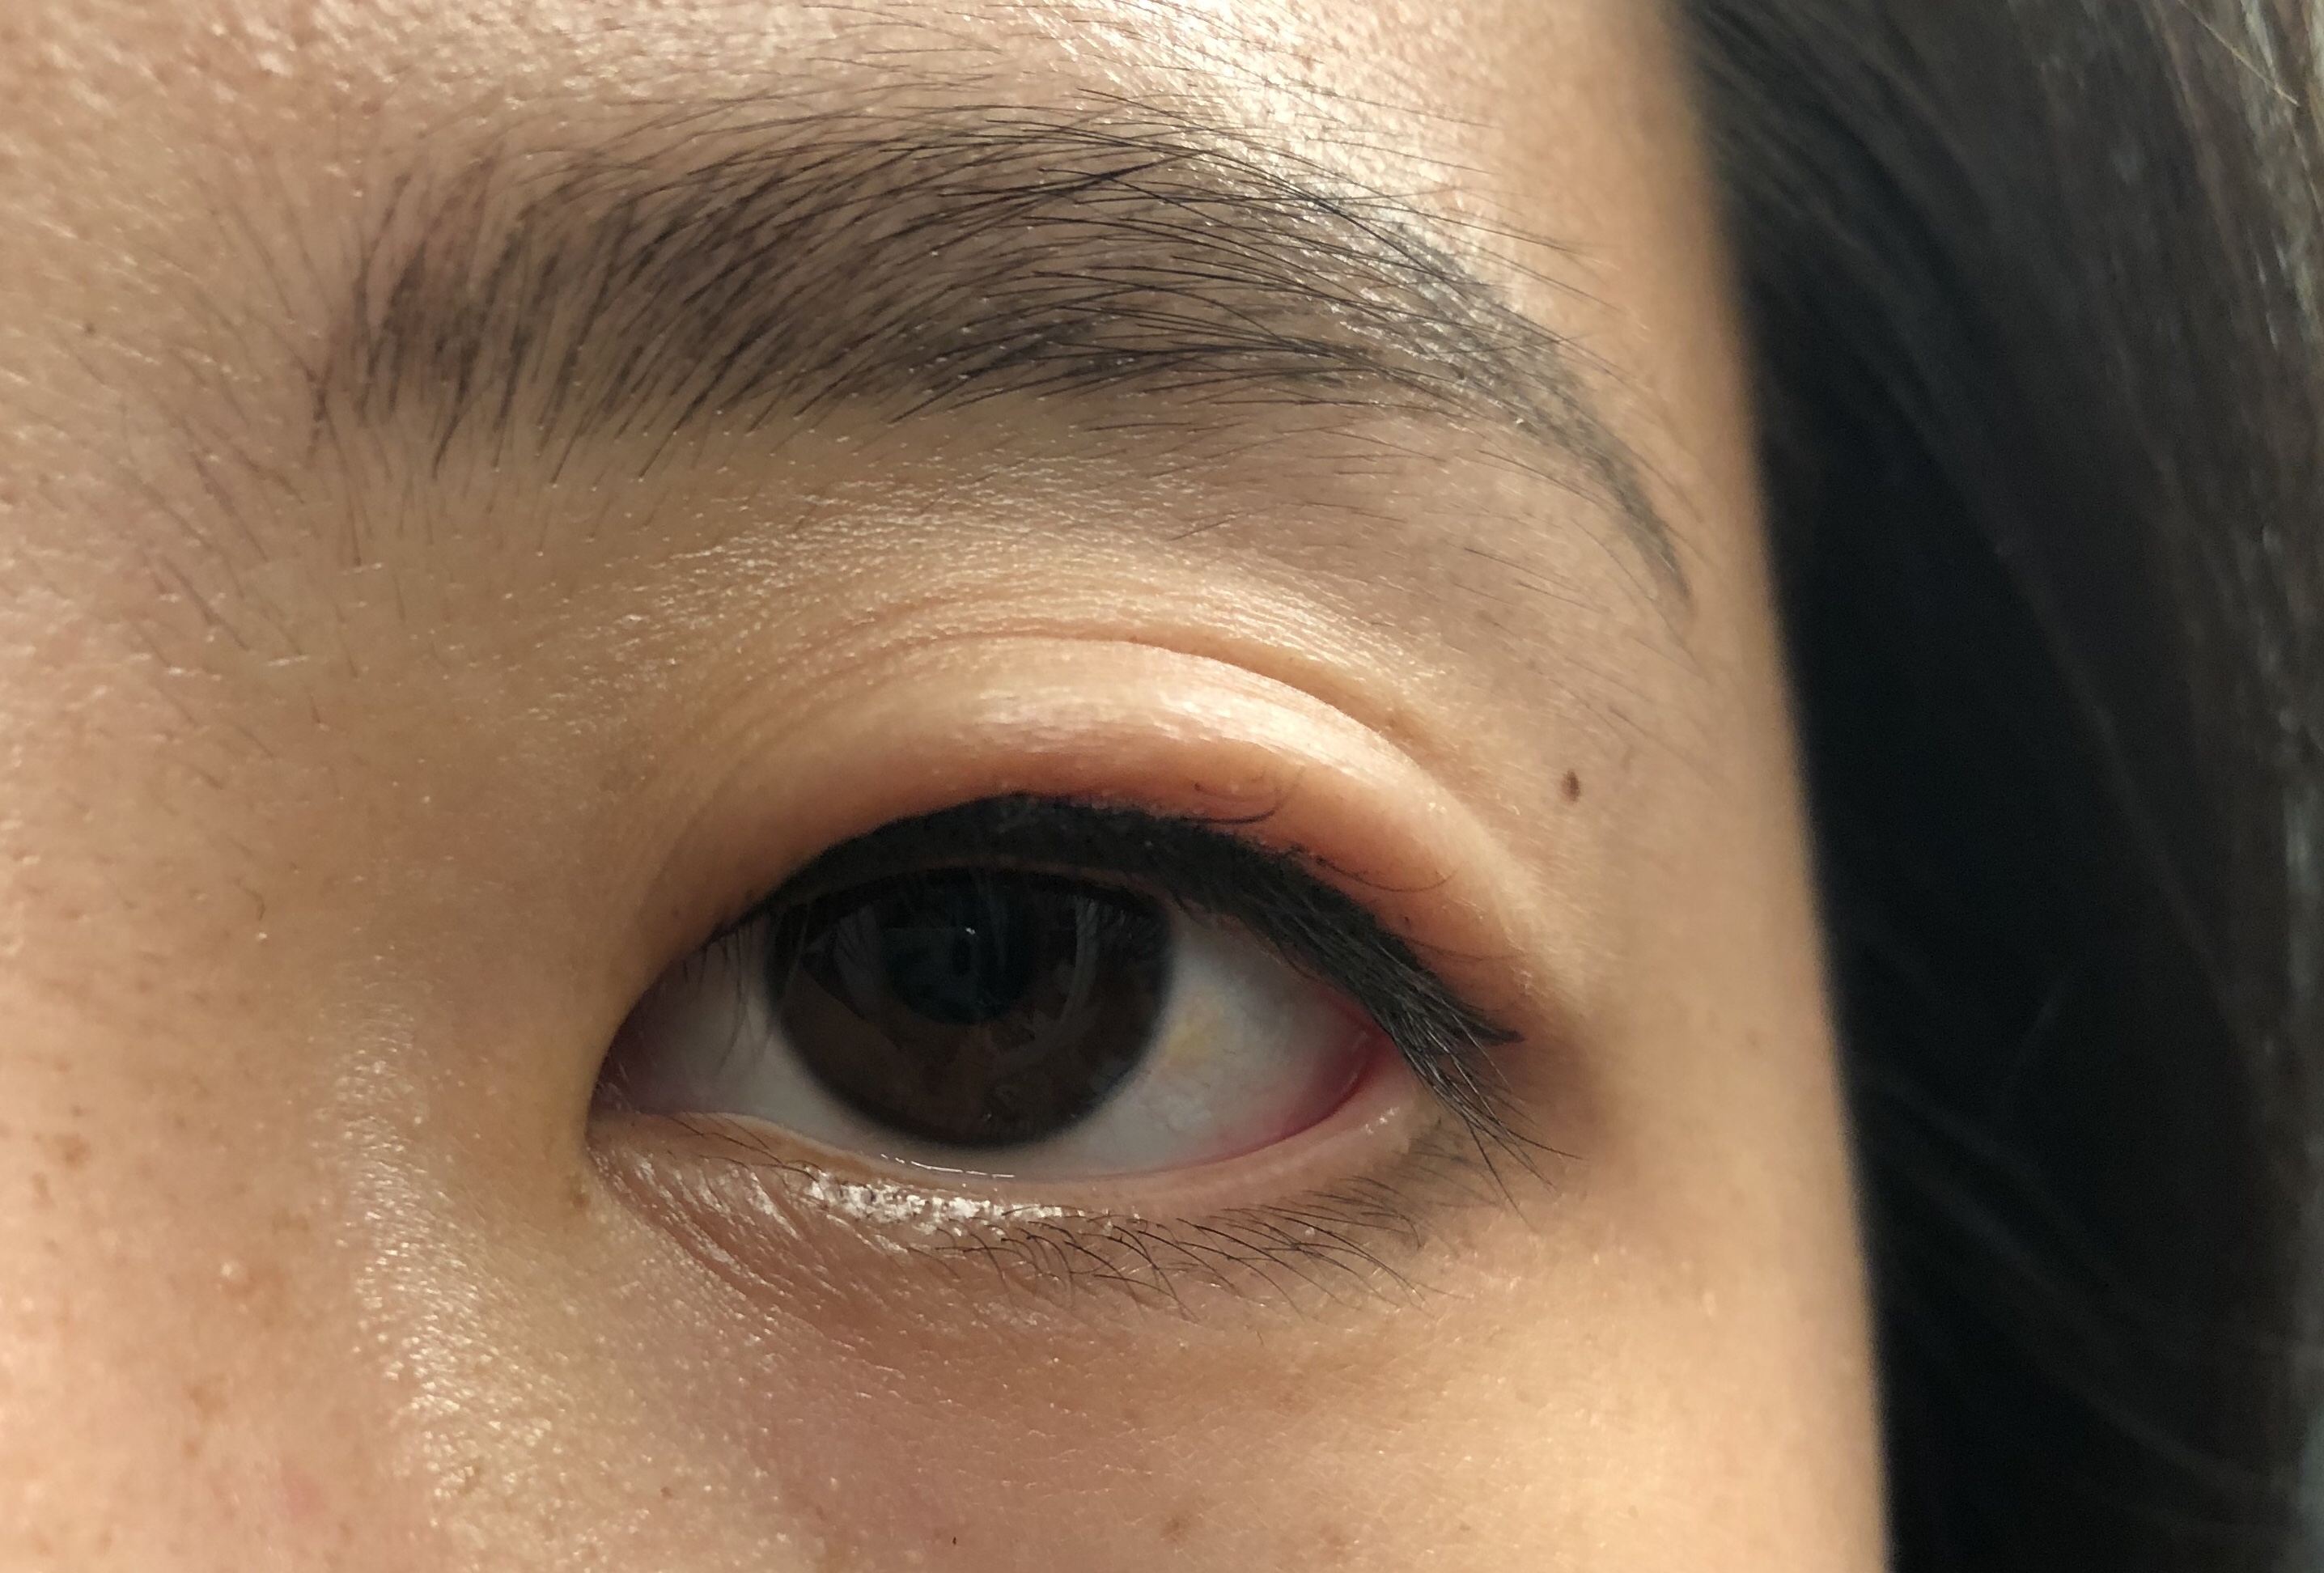
Before and After
Soo took these, and the “after” picture shows my eyes more defined but that’s because they’re swollen. She had also touched up on my brows so they look more defined as well.
General Tips
- Bring a friend! My eyes were pretty swollen for about 15-20 minutes afterwards and I couldn’t open them all the way, so having a friend DRIVE ME was super helpful. It also helped to get a 3rd opinion on the look of the eyeliner too.
- Don’t wear contacts. I wear hard gas permeable lenses and had to take them off beforehand and wear glasses afterwards. You’re expected not to wear contacts for several days after the procedure.
- Bring a stress ball or something to clench. I squeezed one hand into a fist and grabbed the wrist of that hand as a coping mechanism but I think having a stress ball would have been nice, though not necessary.
- Bring sunglasses if you don’t wear contacts/glasses, or a wide brimmed hat. You will need to cover your tattoo from sun exposure for 2 weeks afterwards, and even if there’s no sun outside, the UV lights will still penetrate through clouds and affect the pigments.
- If you have a lot of hair like me, WASH it the morning of. You’ll go at least a day without washing since you want to avoid getting your eyes (and brows) wet.
- Set the expectations for your eyeballs to be touched A LOT. Soo had to wipe away excess pigment, tears, and moisture pretty frequently and it’s almost impossible for her not to touch my eyeballs at all.
Aftercare
Immediately after finishing, Soo covered both my brows and eyes with an infection-preventing ointment and sent me off with another sample sized packet of the ointment and some eye drops. These are the aftercare instructions I received for the eyeliner tattoo:
- NO water or getting the area wet for 2 days.
- NO facial cleansers for 3 days.
- No need to apply any aftercare cream to the eyeliner.
- The color is expected to lighten and soften over the next 1-2 weeks and then begin to darken again. The same thing happens for microblading.
- Avoid pools and saunas for 1 week.
- If eyes get infected, go to a doctor to get treatment.
- NO rubbing or touching.
I get really crusty eyes in the morning so I was a bit worried about how to handle that. But what I did was wash my hands first when I wake up and carefully remove any gunk from the corners of my eyes while looking into the mirror to make sure I’m not touching the tattooed area.
Pictures!
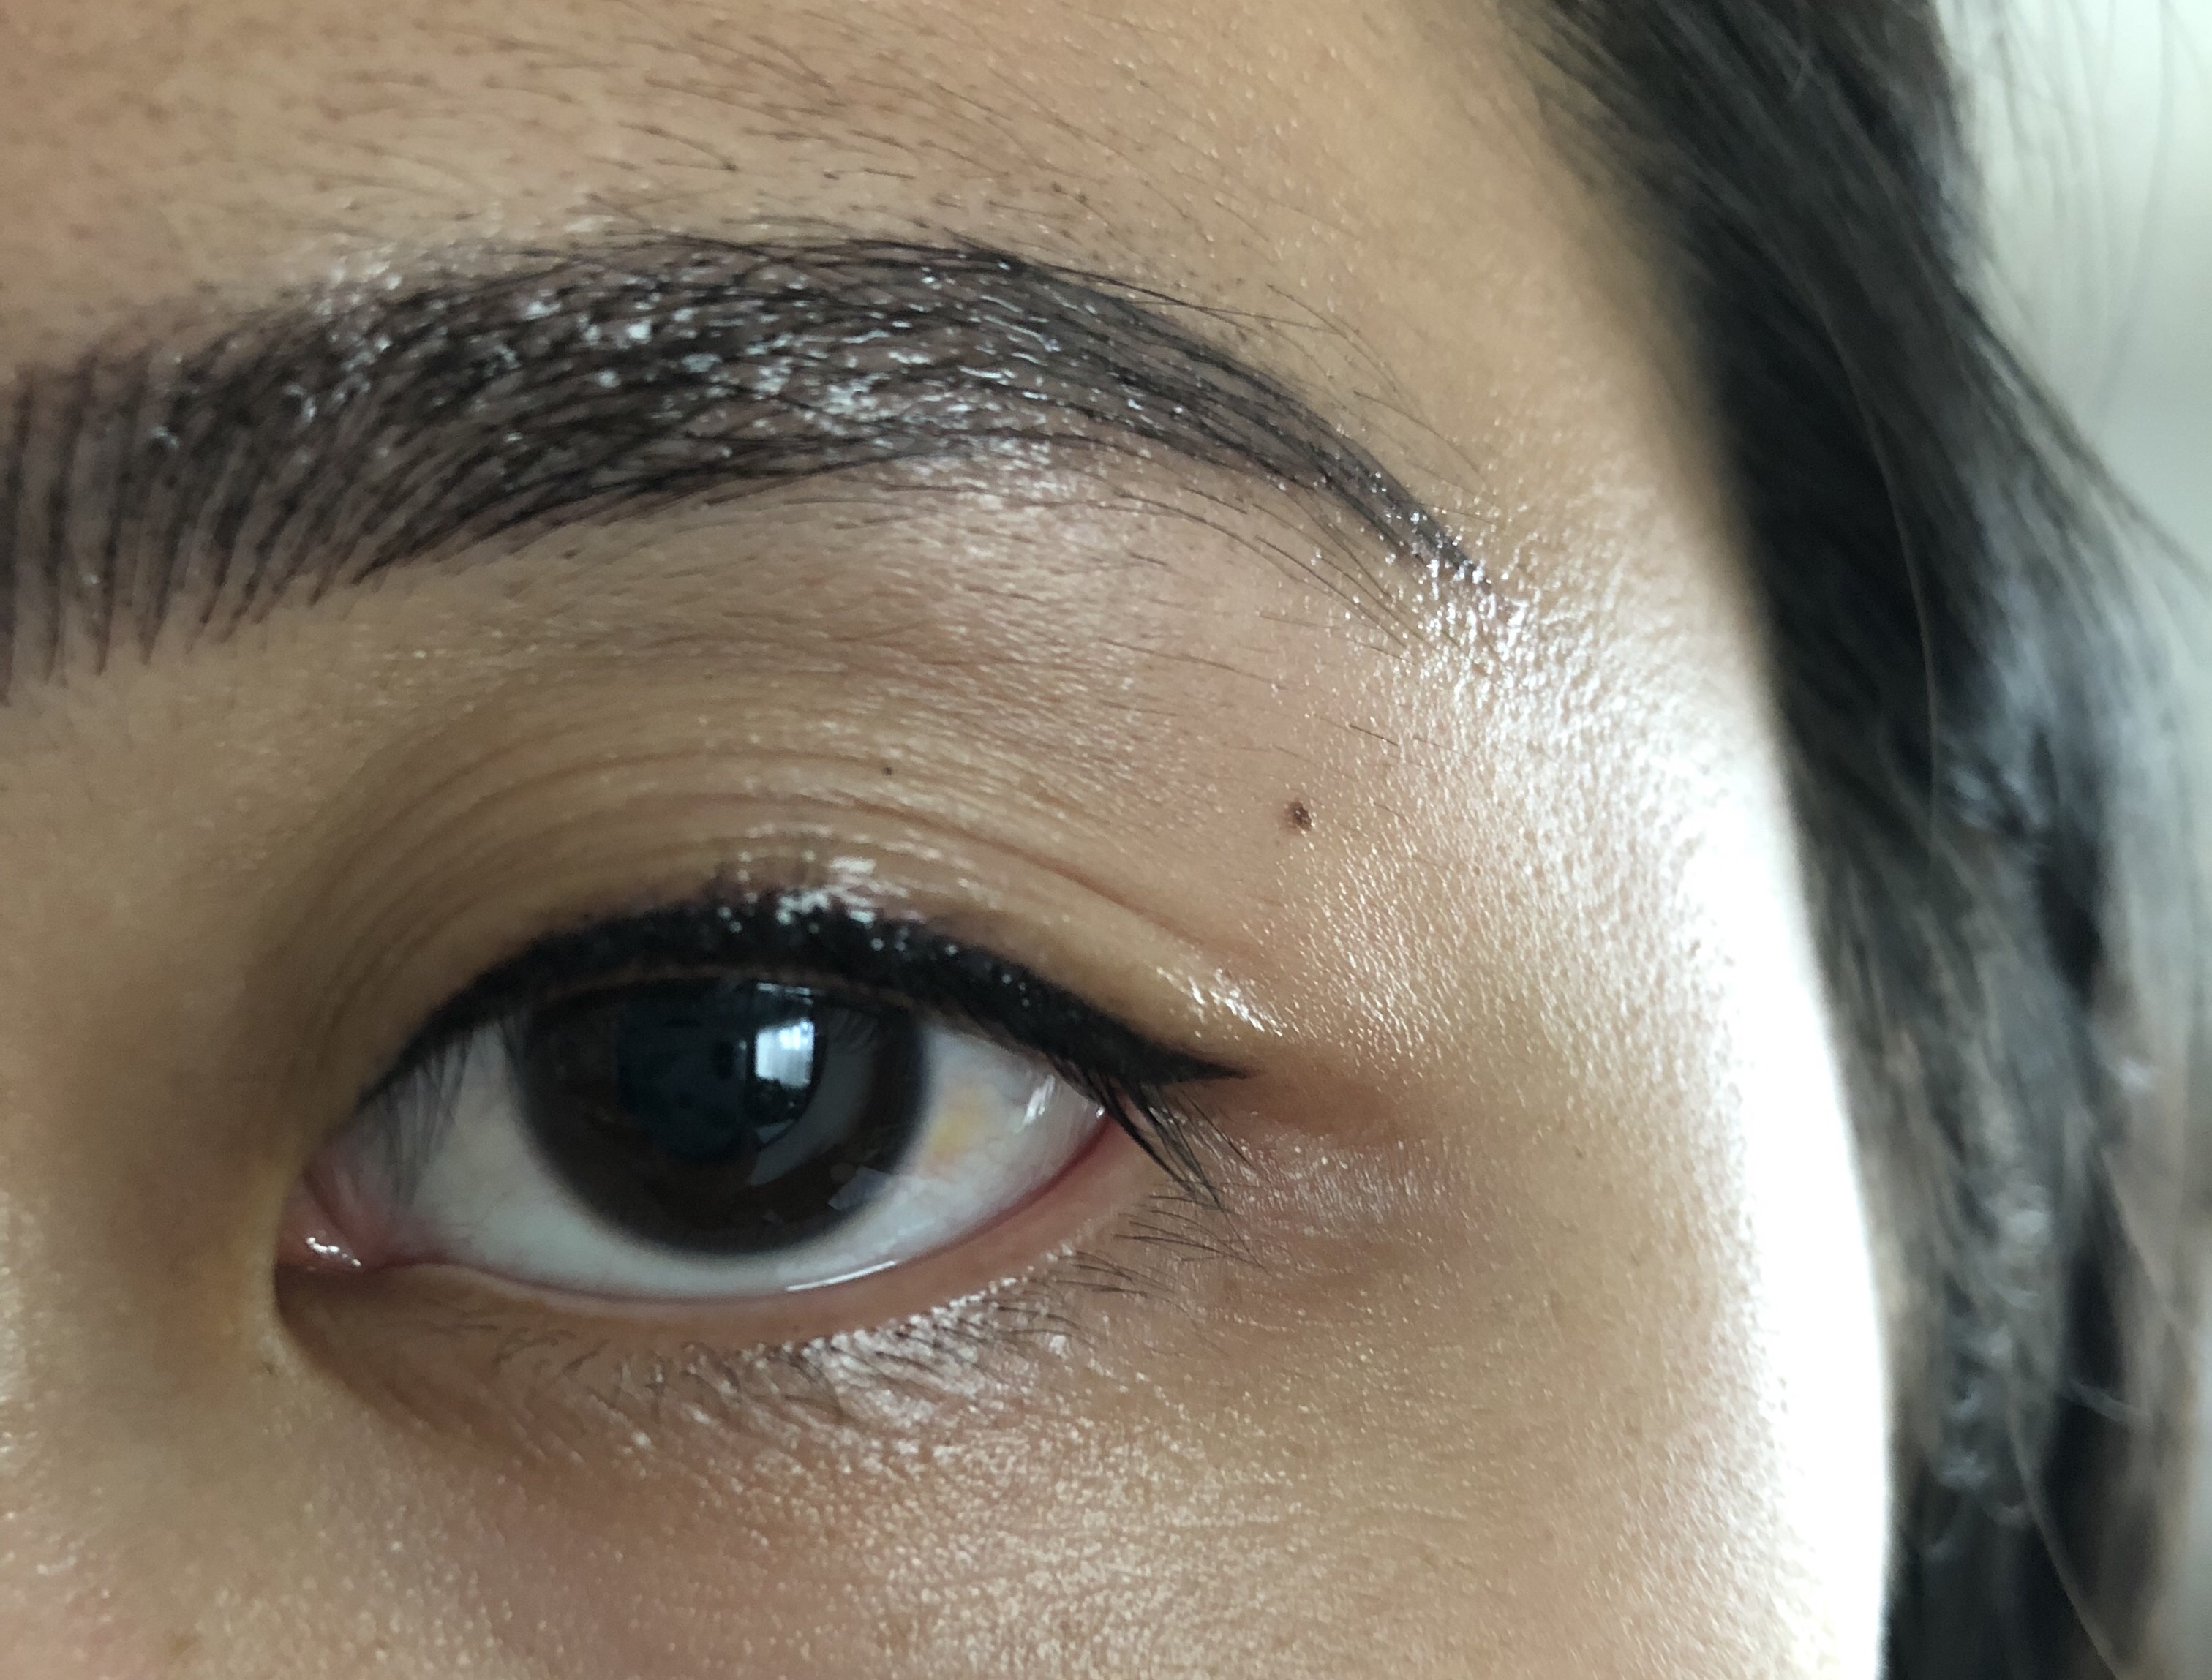
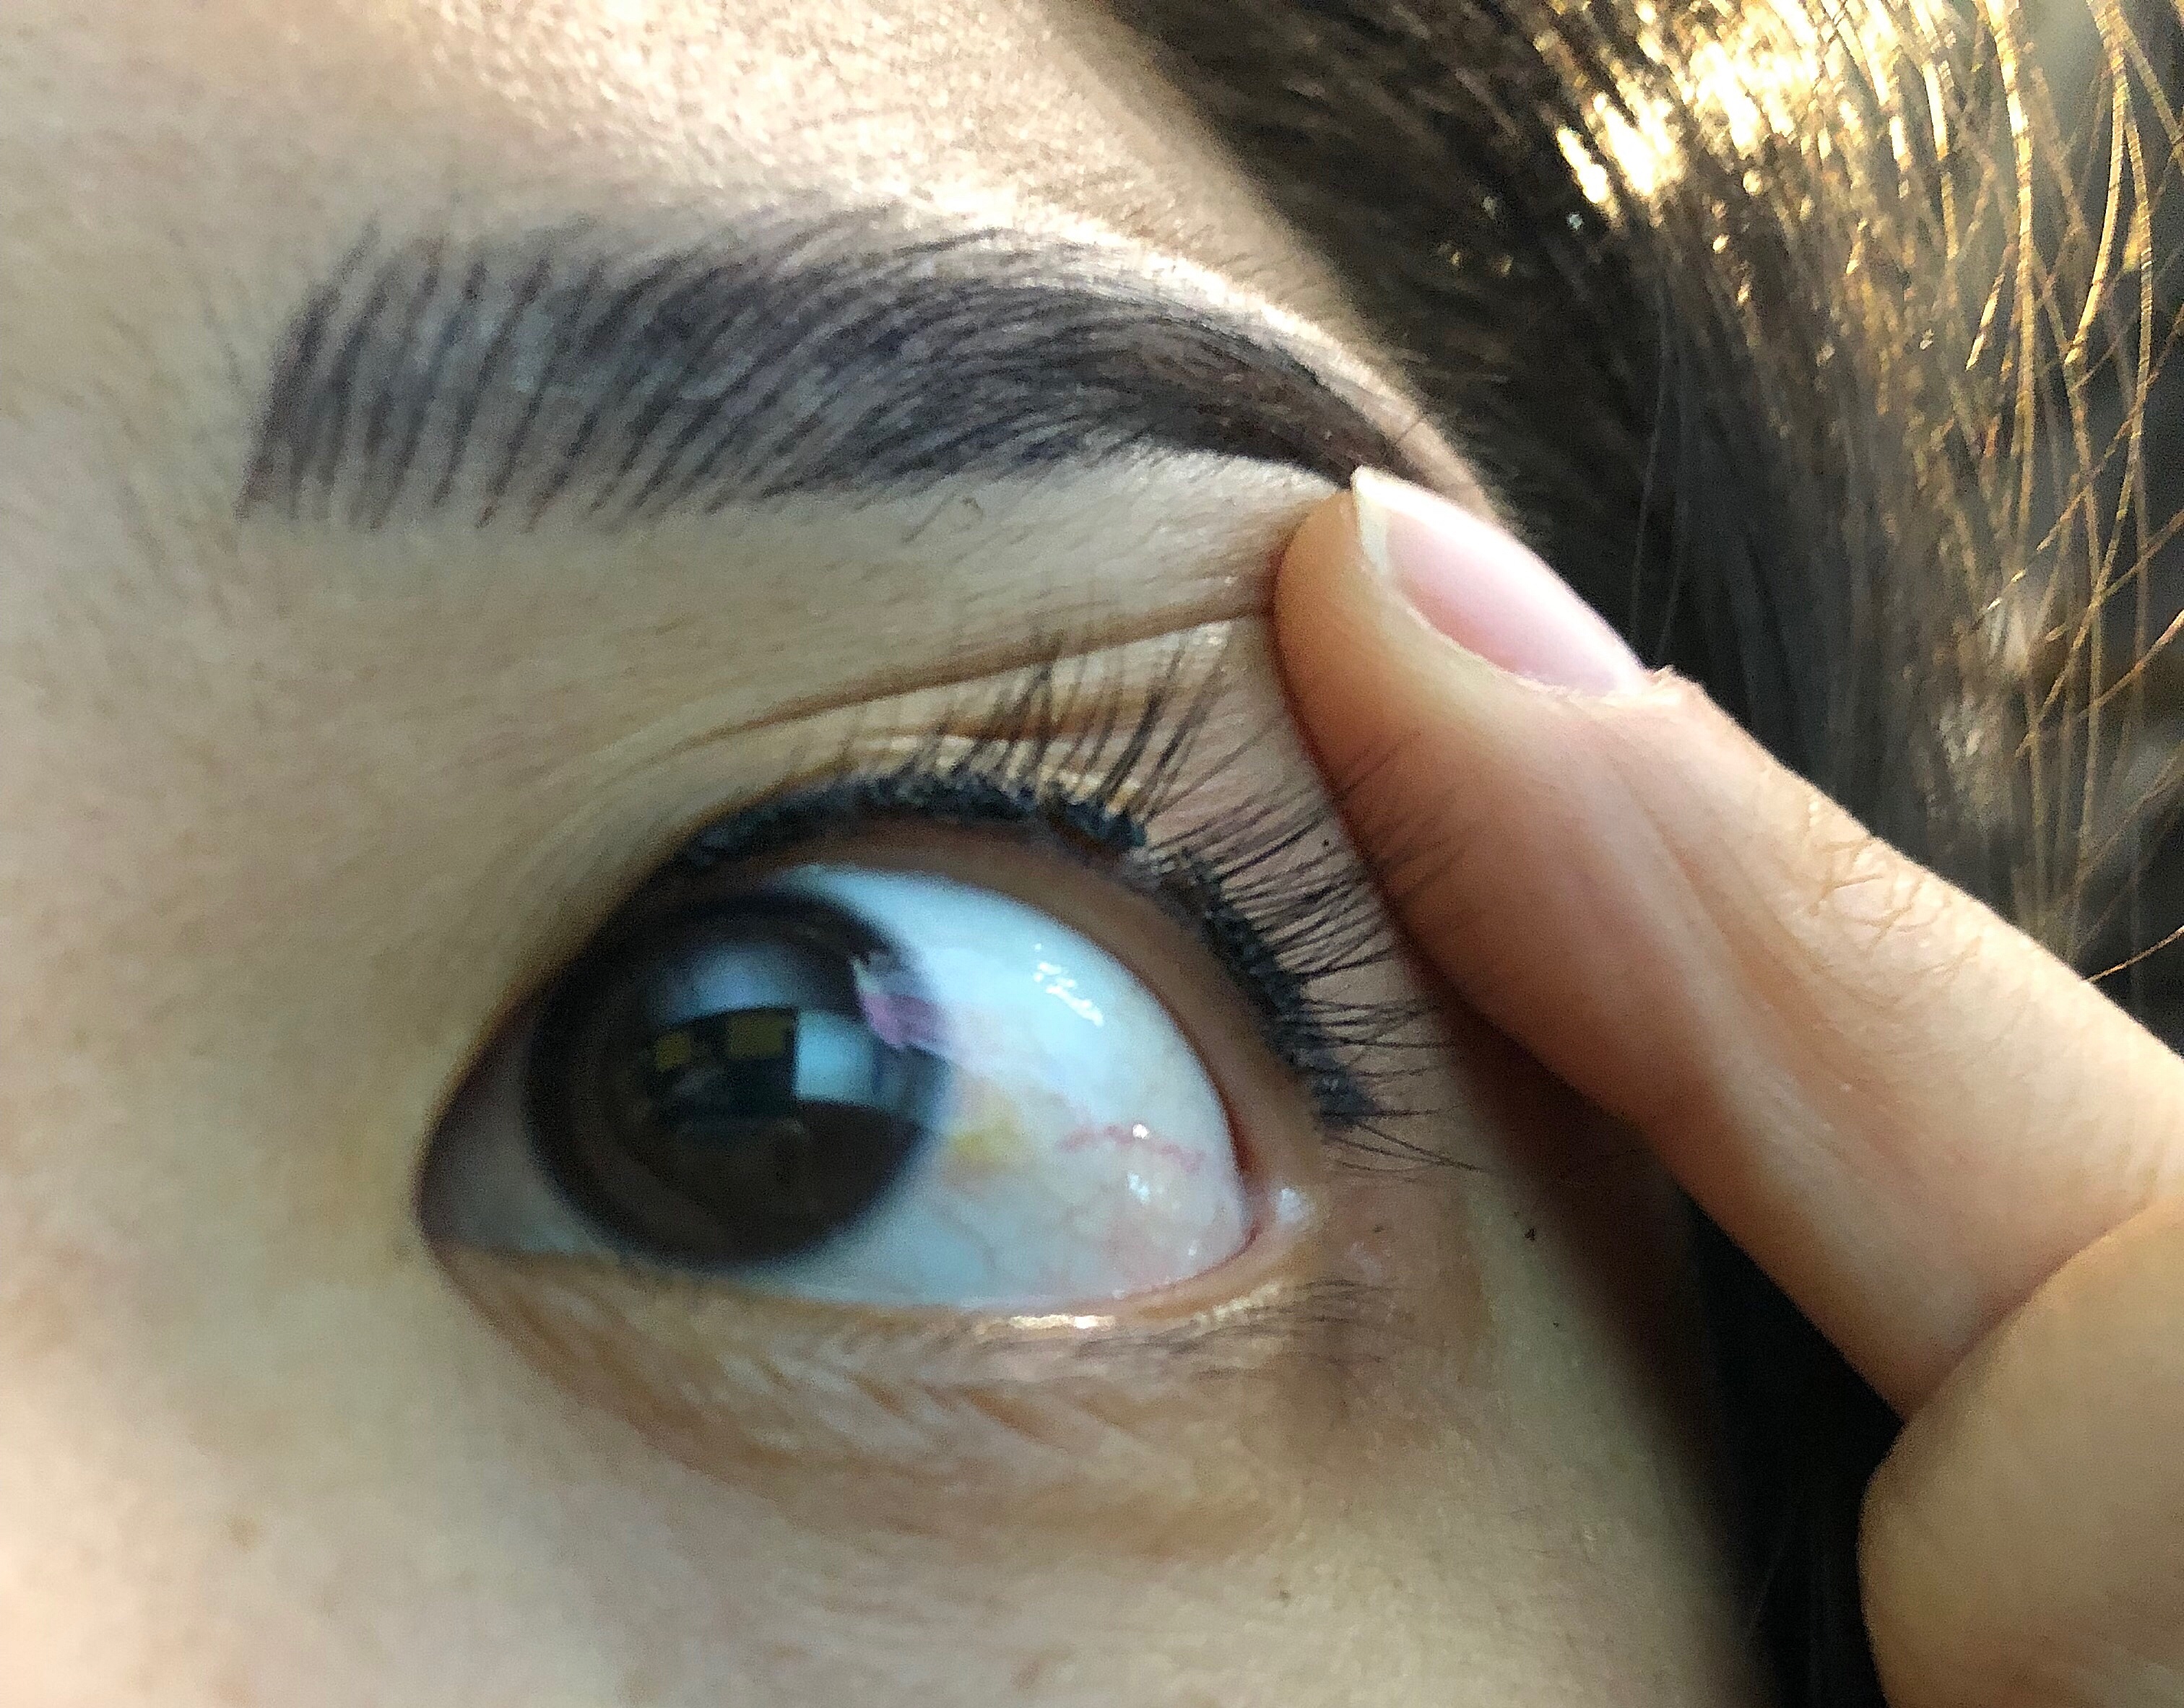
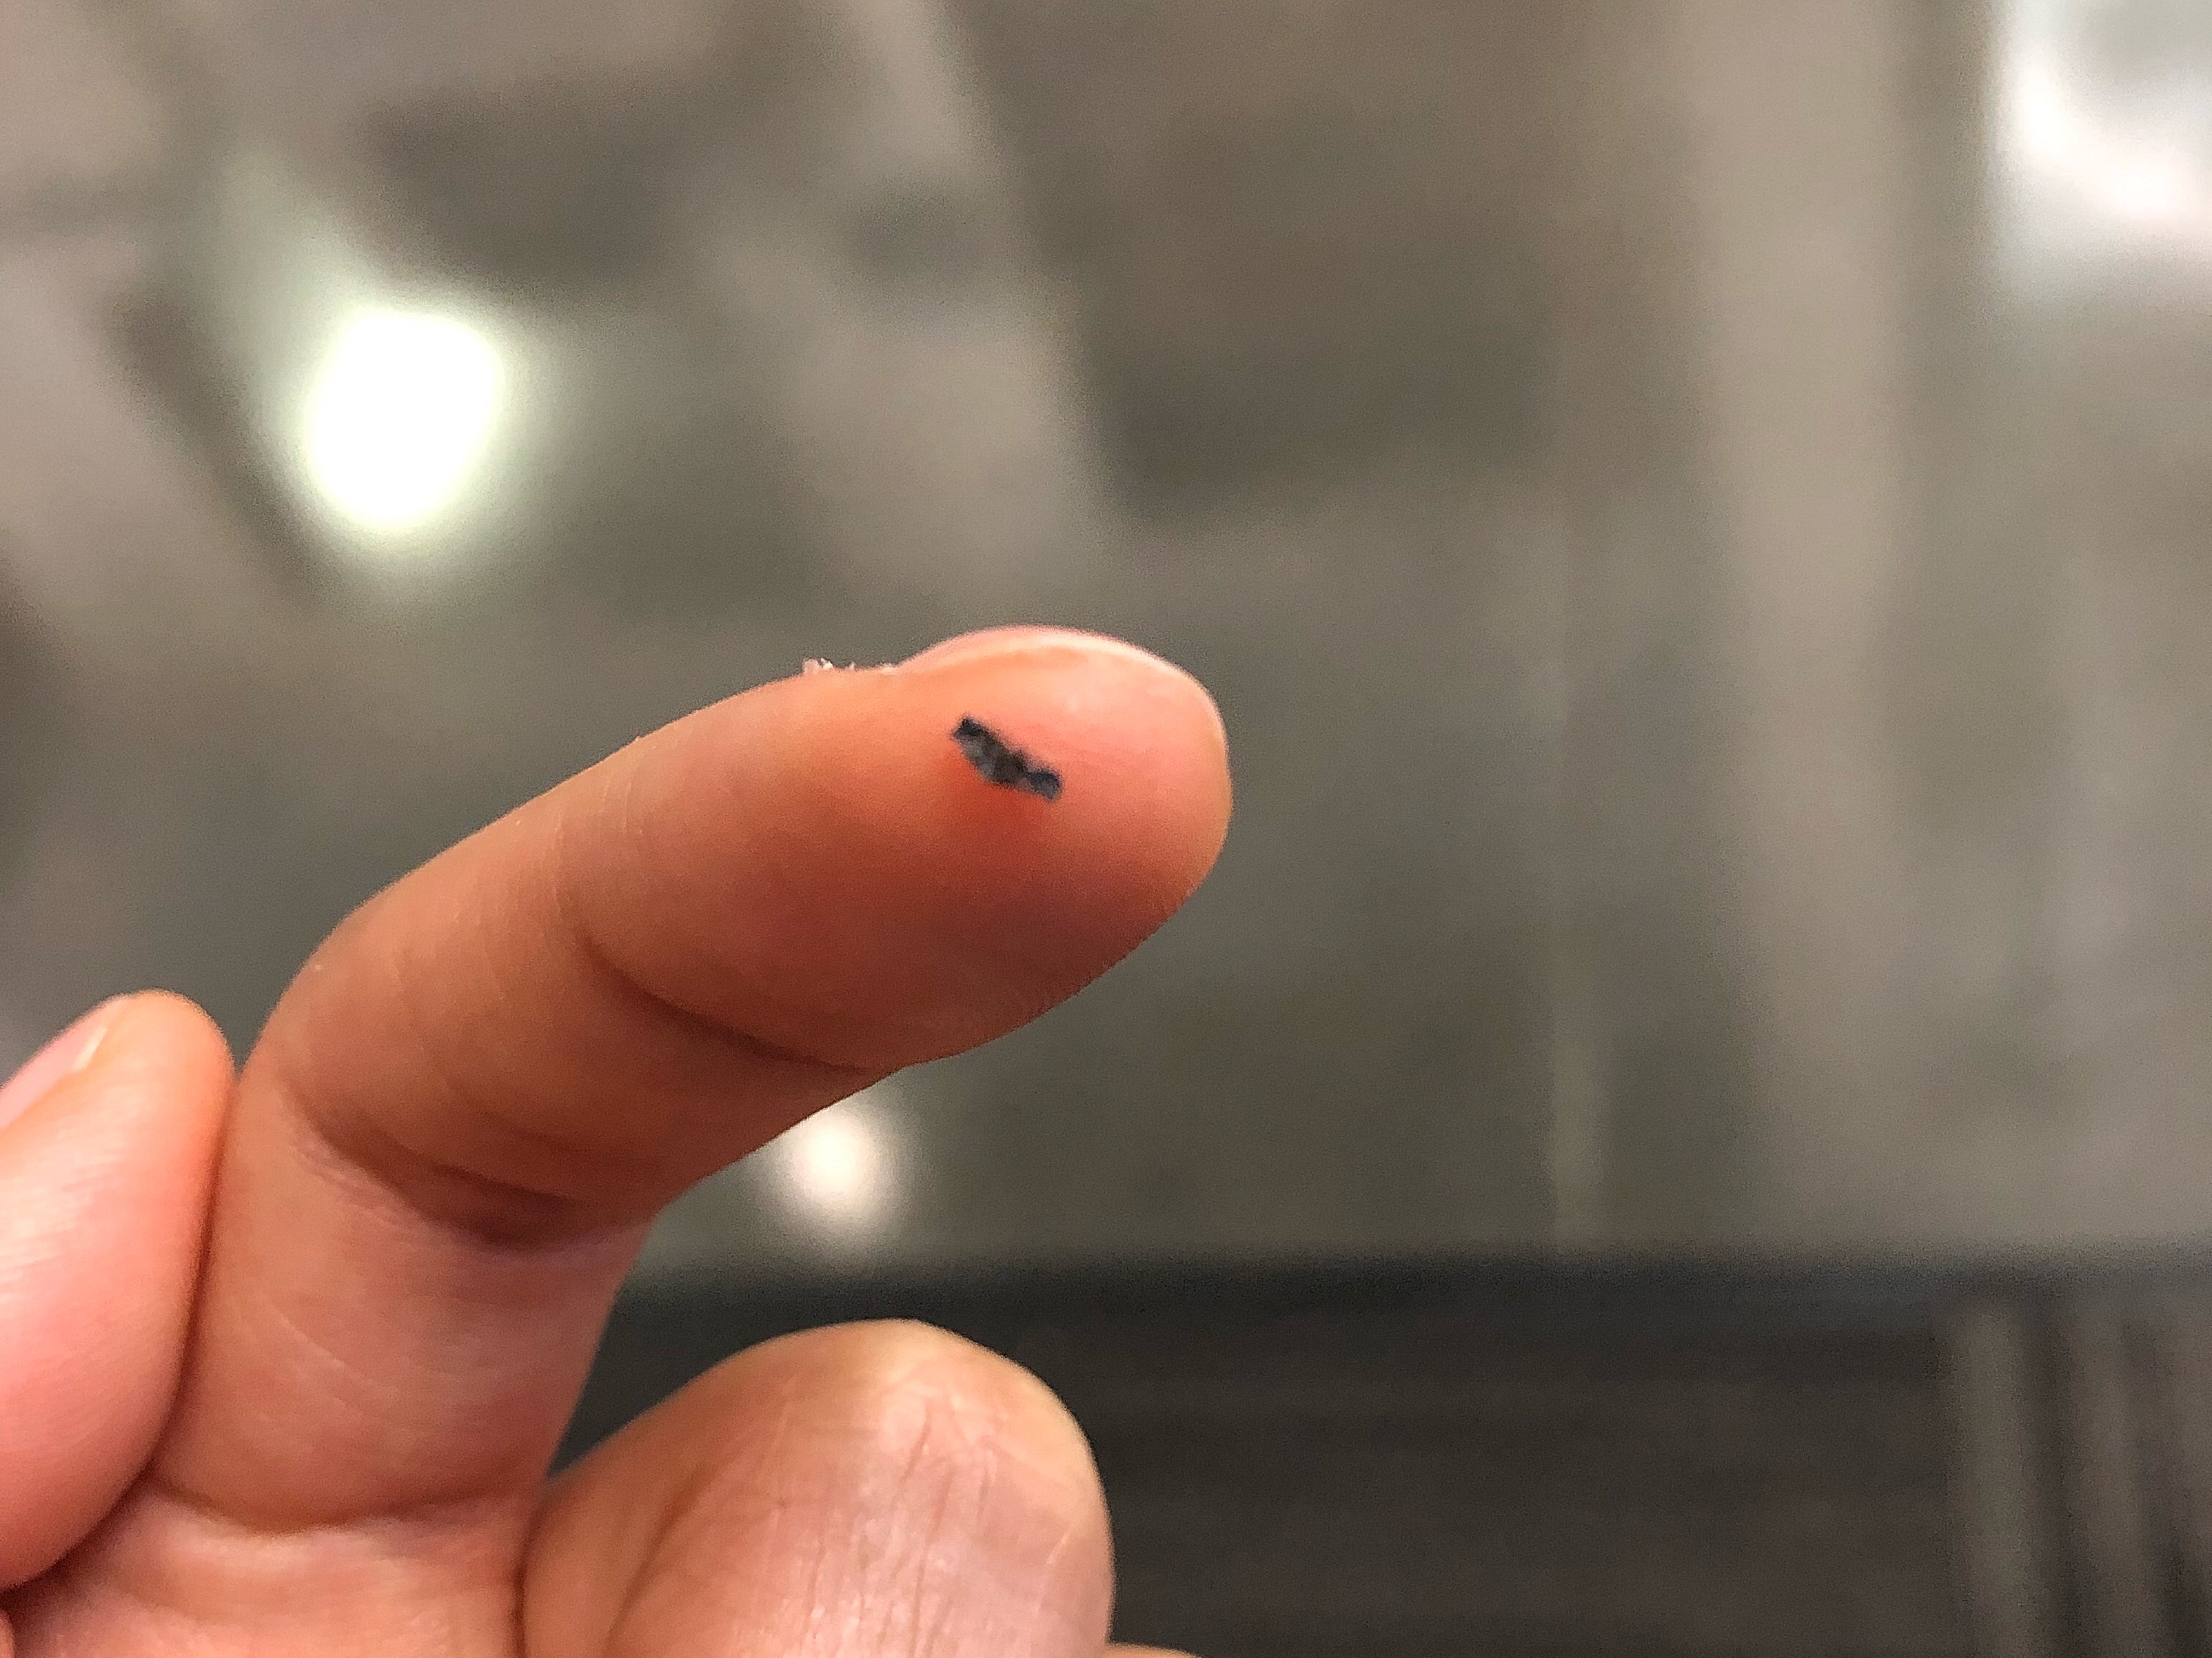
After about 4-5 days, the eyeliner will thicken, scab, and start to crack:
DO NOT PICK AT THE SCABS. I couldn’t follow my own advice and admit that I did keep touching the peeling scabs. I could see them in my peripheral, just like when you wear false eyelashes or have mascara on. When the scabs do leave contact with your skin, they’re still stuck to your eyelashes. But then they finally flake off.
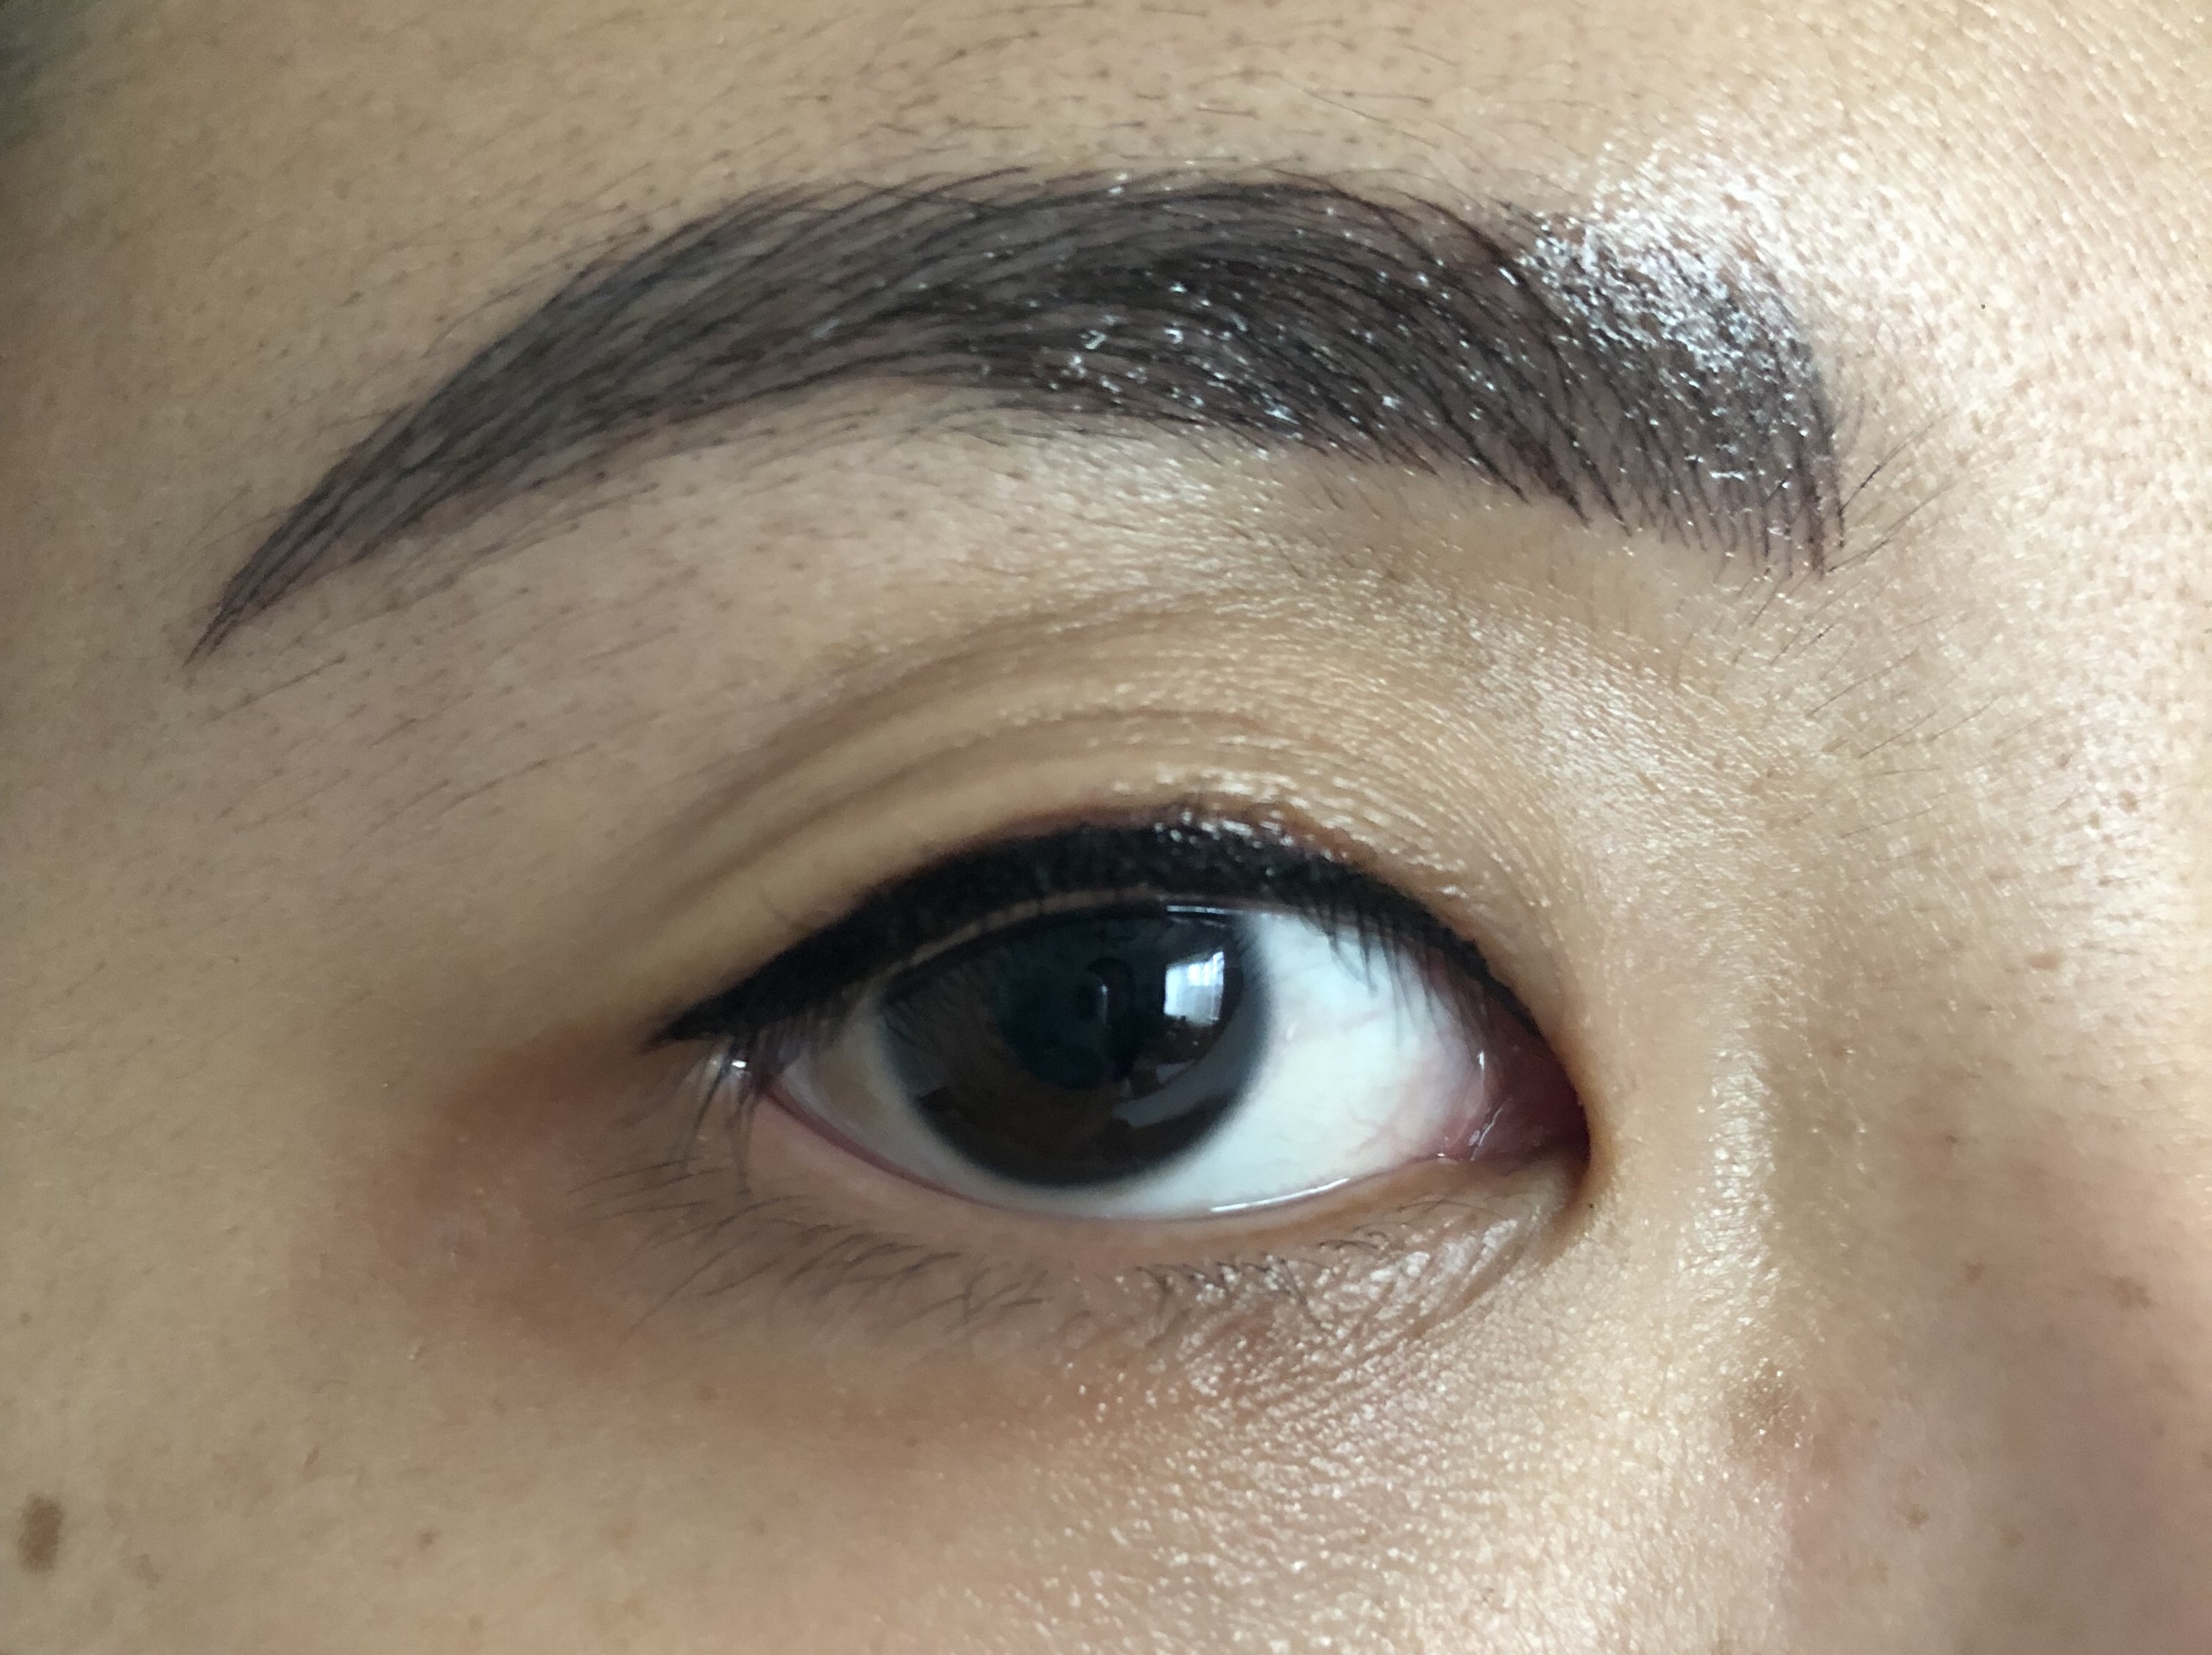
1 Week Update
After a week since the procedure, all the scabs have finally fallen off and the eyeliner underneath is a bit light. Over the next week or so, the pigment will darken and I’ll need to go back to Soo within 2 months to get a touch up. At this session, I can have her fix my right wing, which is currently shorter and not as sharp as my left, as well as thickening the eyeliner itself if I don’t think it’s dramatic enough. I had a company party recently where all I did was put on mascara and lipstick. SO amazing.

The Touch-Up
After about 5 weeks since the initial procedure, I went back to see Soo. During those 5 weeks, I was able to think about whether I wanted something more dramatic or my eyeliner darker. I knew I wanted them to be slightly darker and the right wing to be sharper. This time, the pain was just as unbearable but only slightly better because I was already expecting it. The touch up took about 45 minutes total and my eyes were swollen and puffy. So it’s healing time again!
After about 10 hours, my eyelids were super swollen more than I remember the first time being, probably because I asked Soo to thicken my eyeliner. I had to cancel my pilates class for the next morning for fear of excess sweat. And sure enough, my lids were still puffy, but not as swollen as the night before.
The healing process this time was less intense. I did not get any water on my eyes for 2 days, and then I started using a wash cloth on my face while still avoiding my eyes. By day 5, I was washing my face with cleanser but still avoiding my eyes. The flakes were softer and came off a lot easier, though by the 6th day after the touch up, I still had scabs.
I was actually able to pick the flakes away quite easily after they’ve separated from the skin. So after a week, they were all gone!
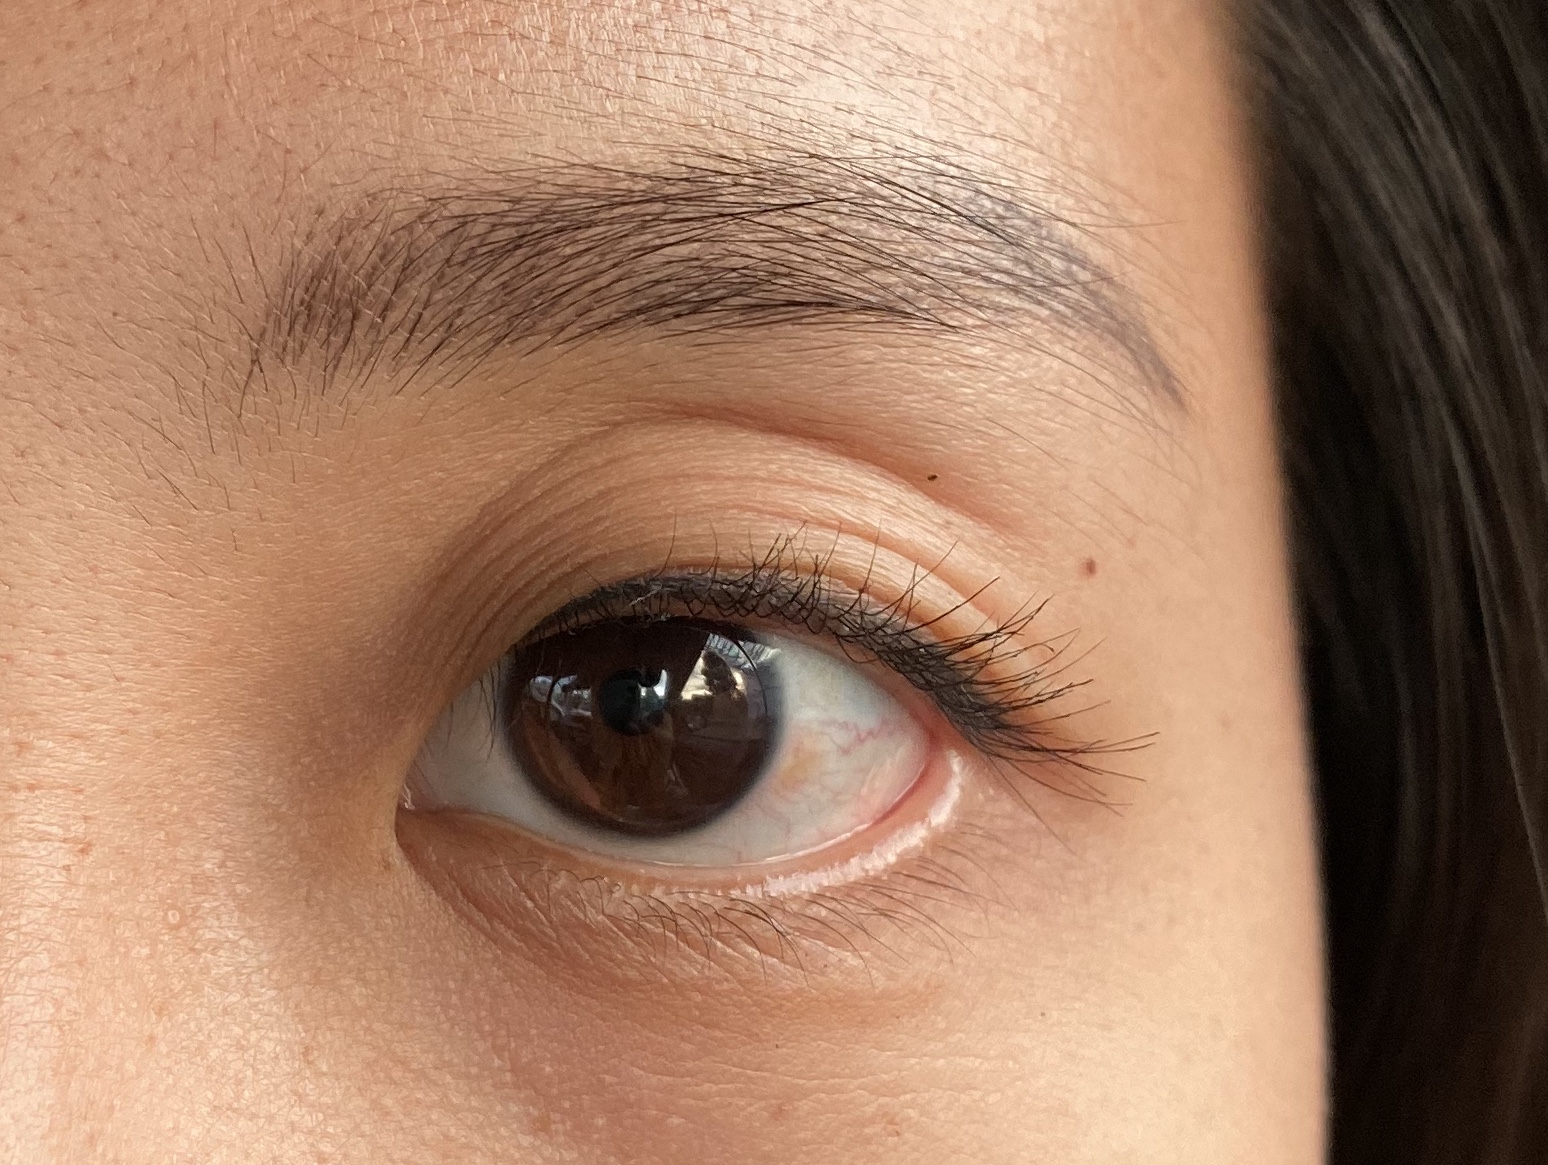
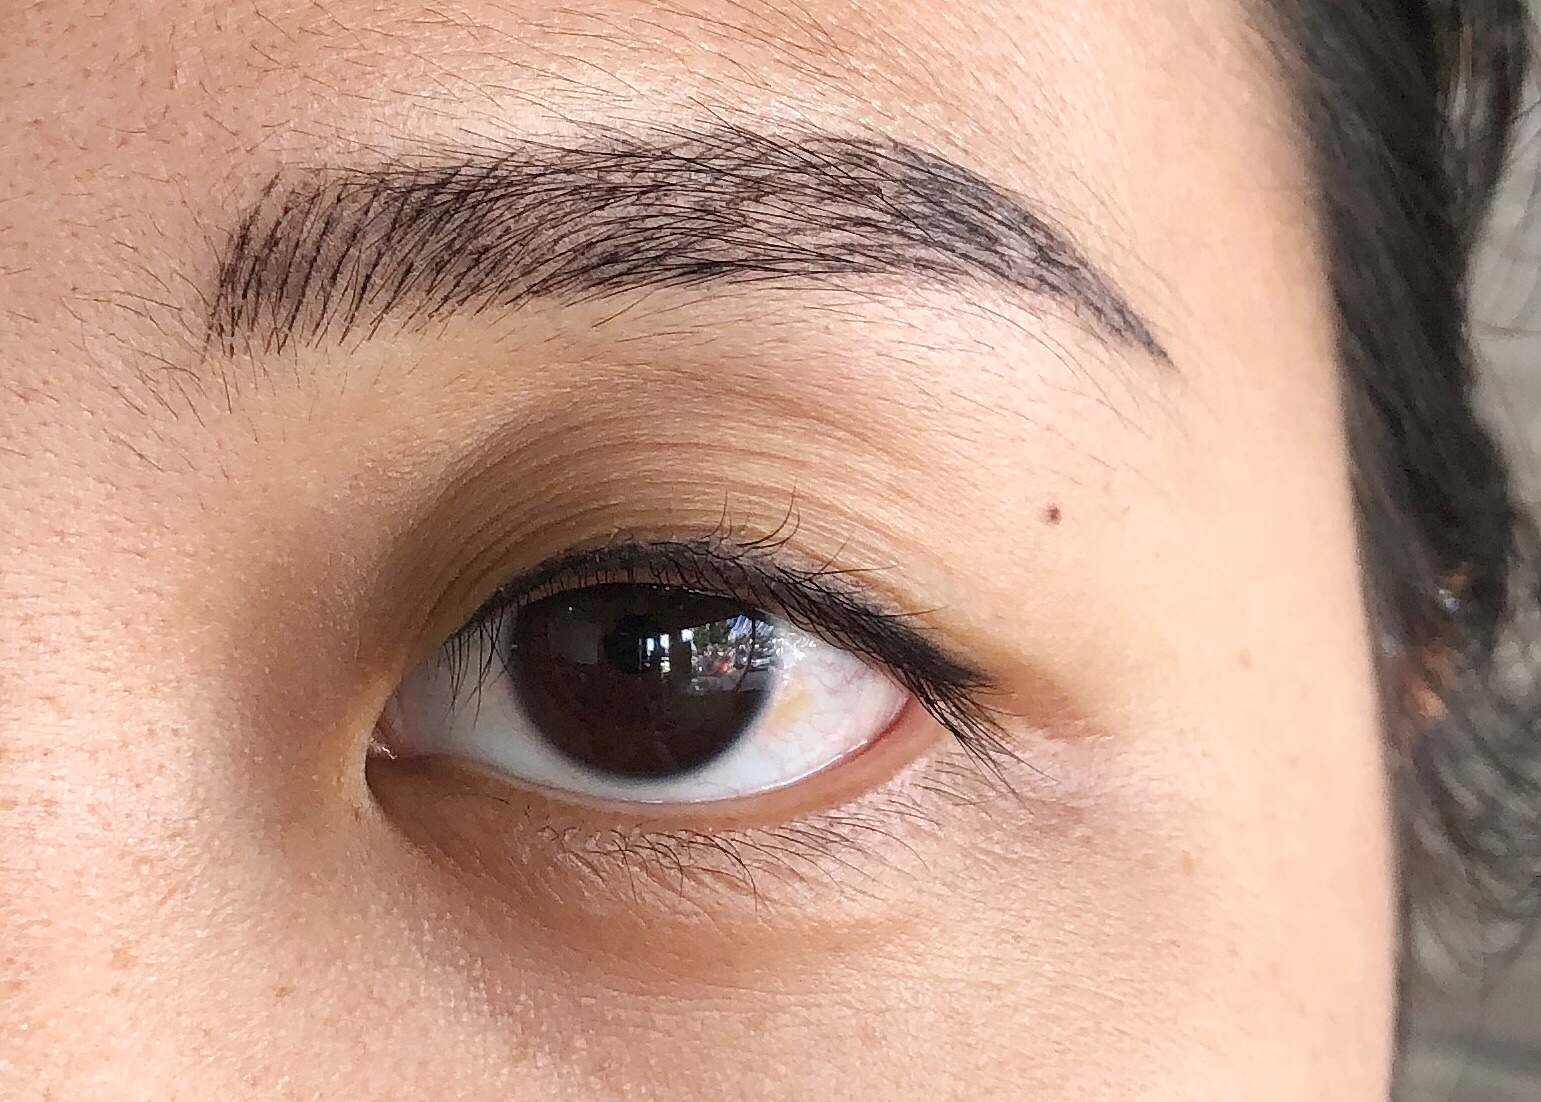
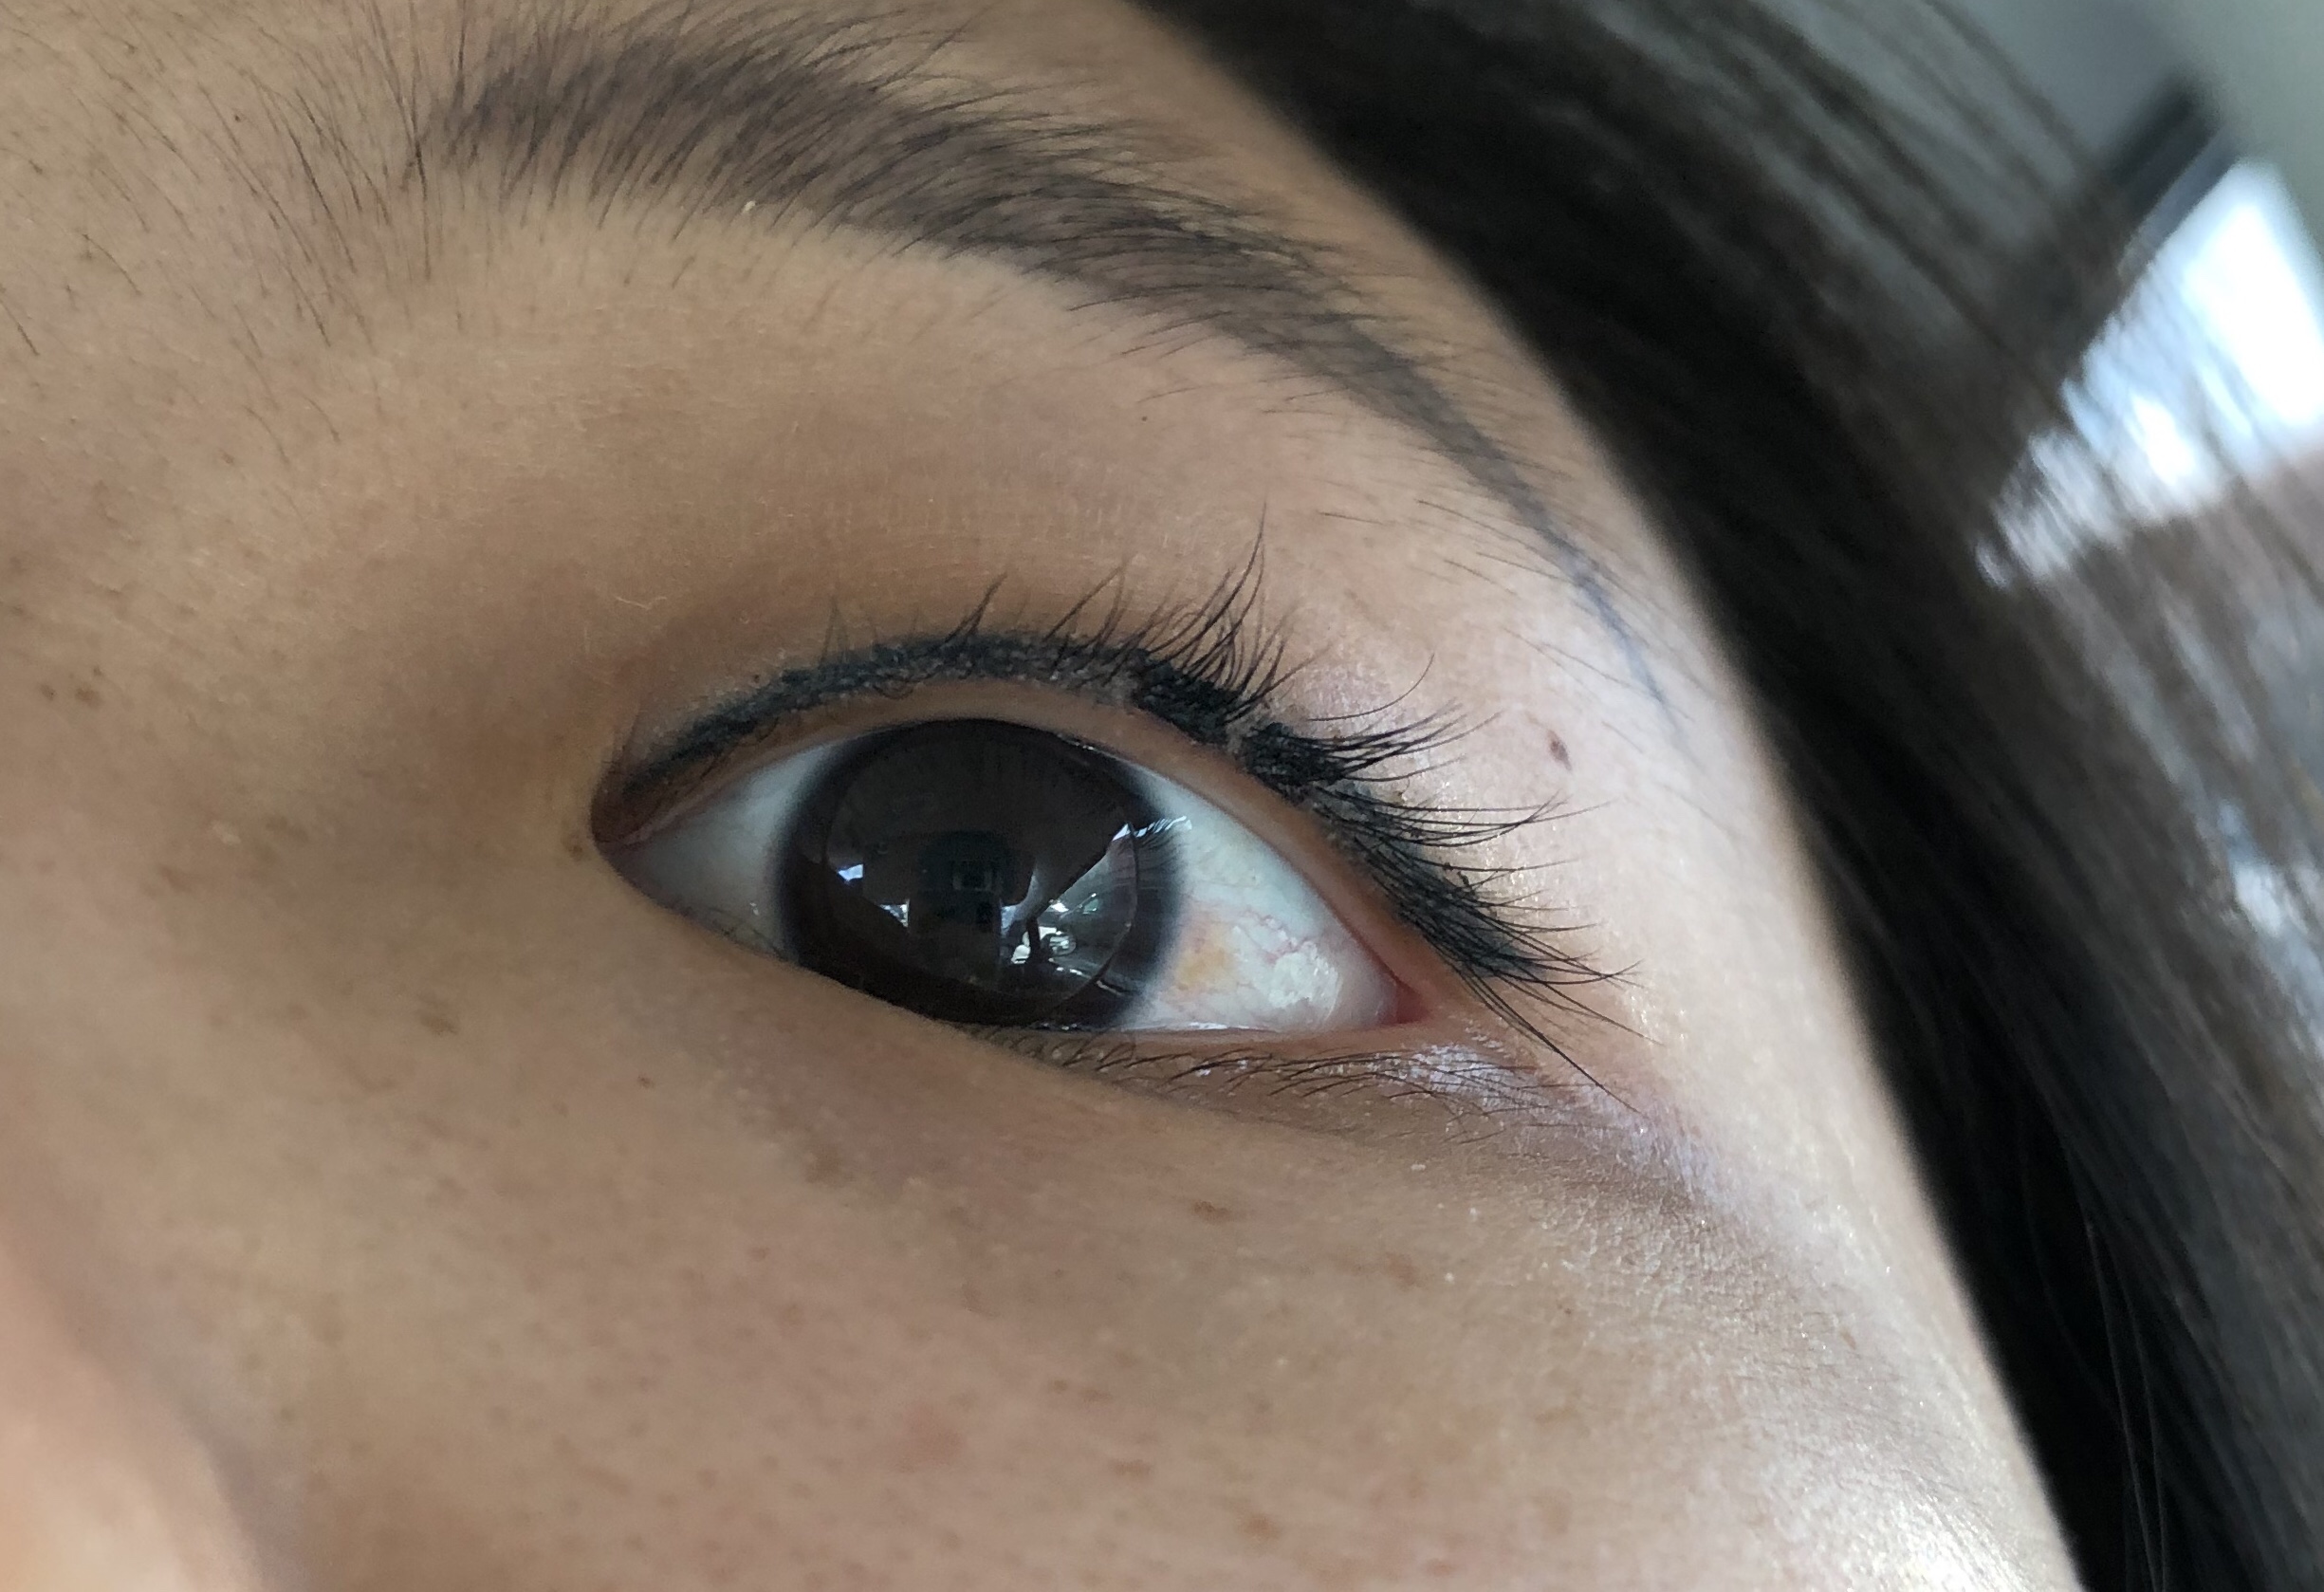
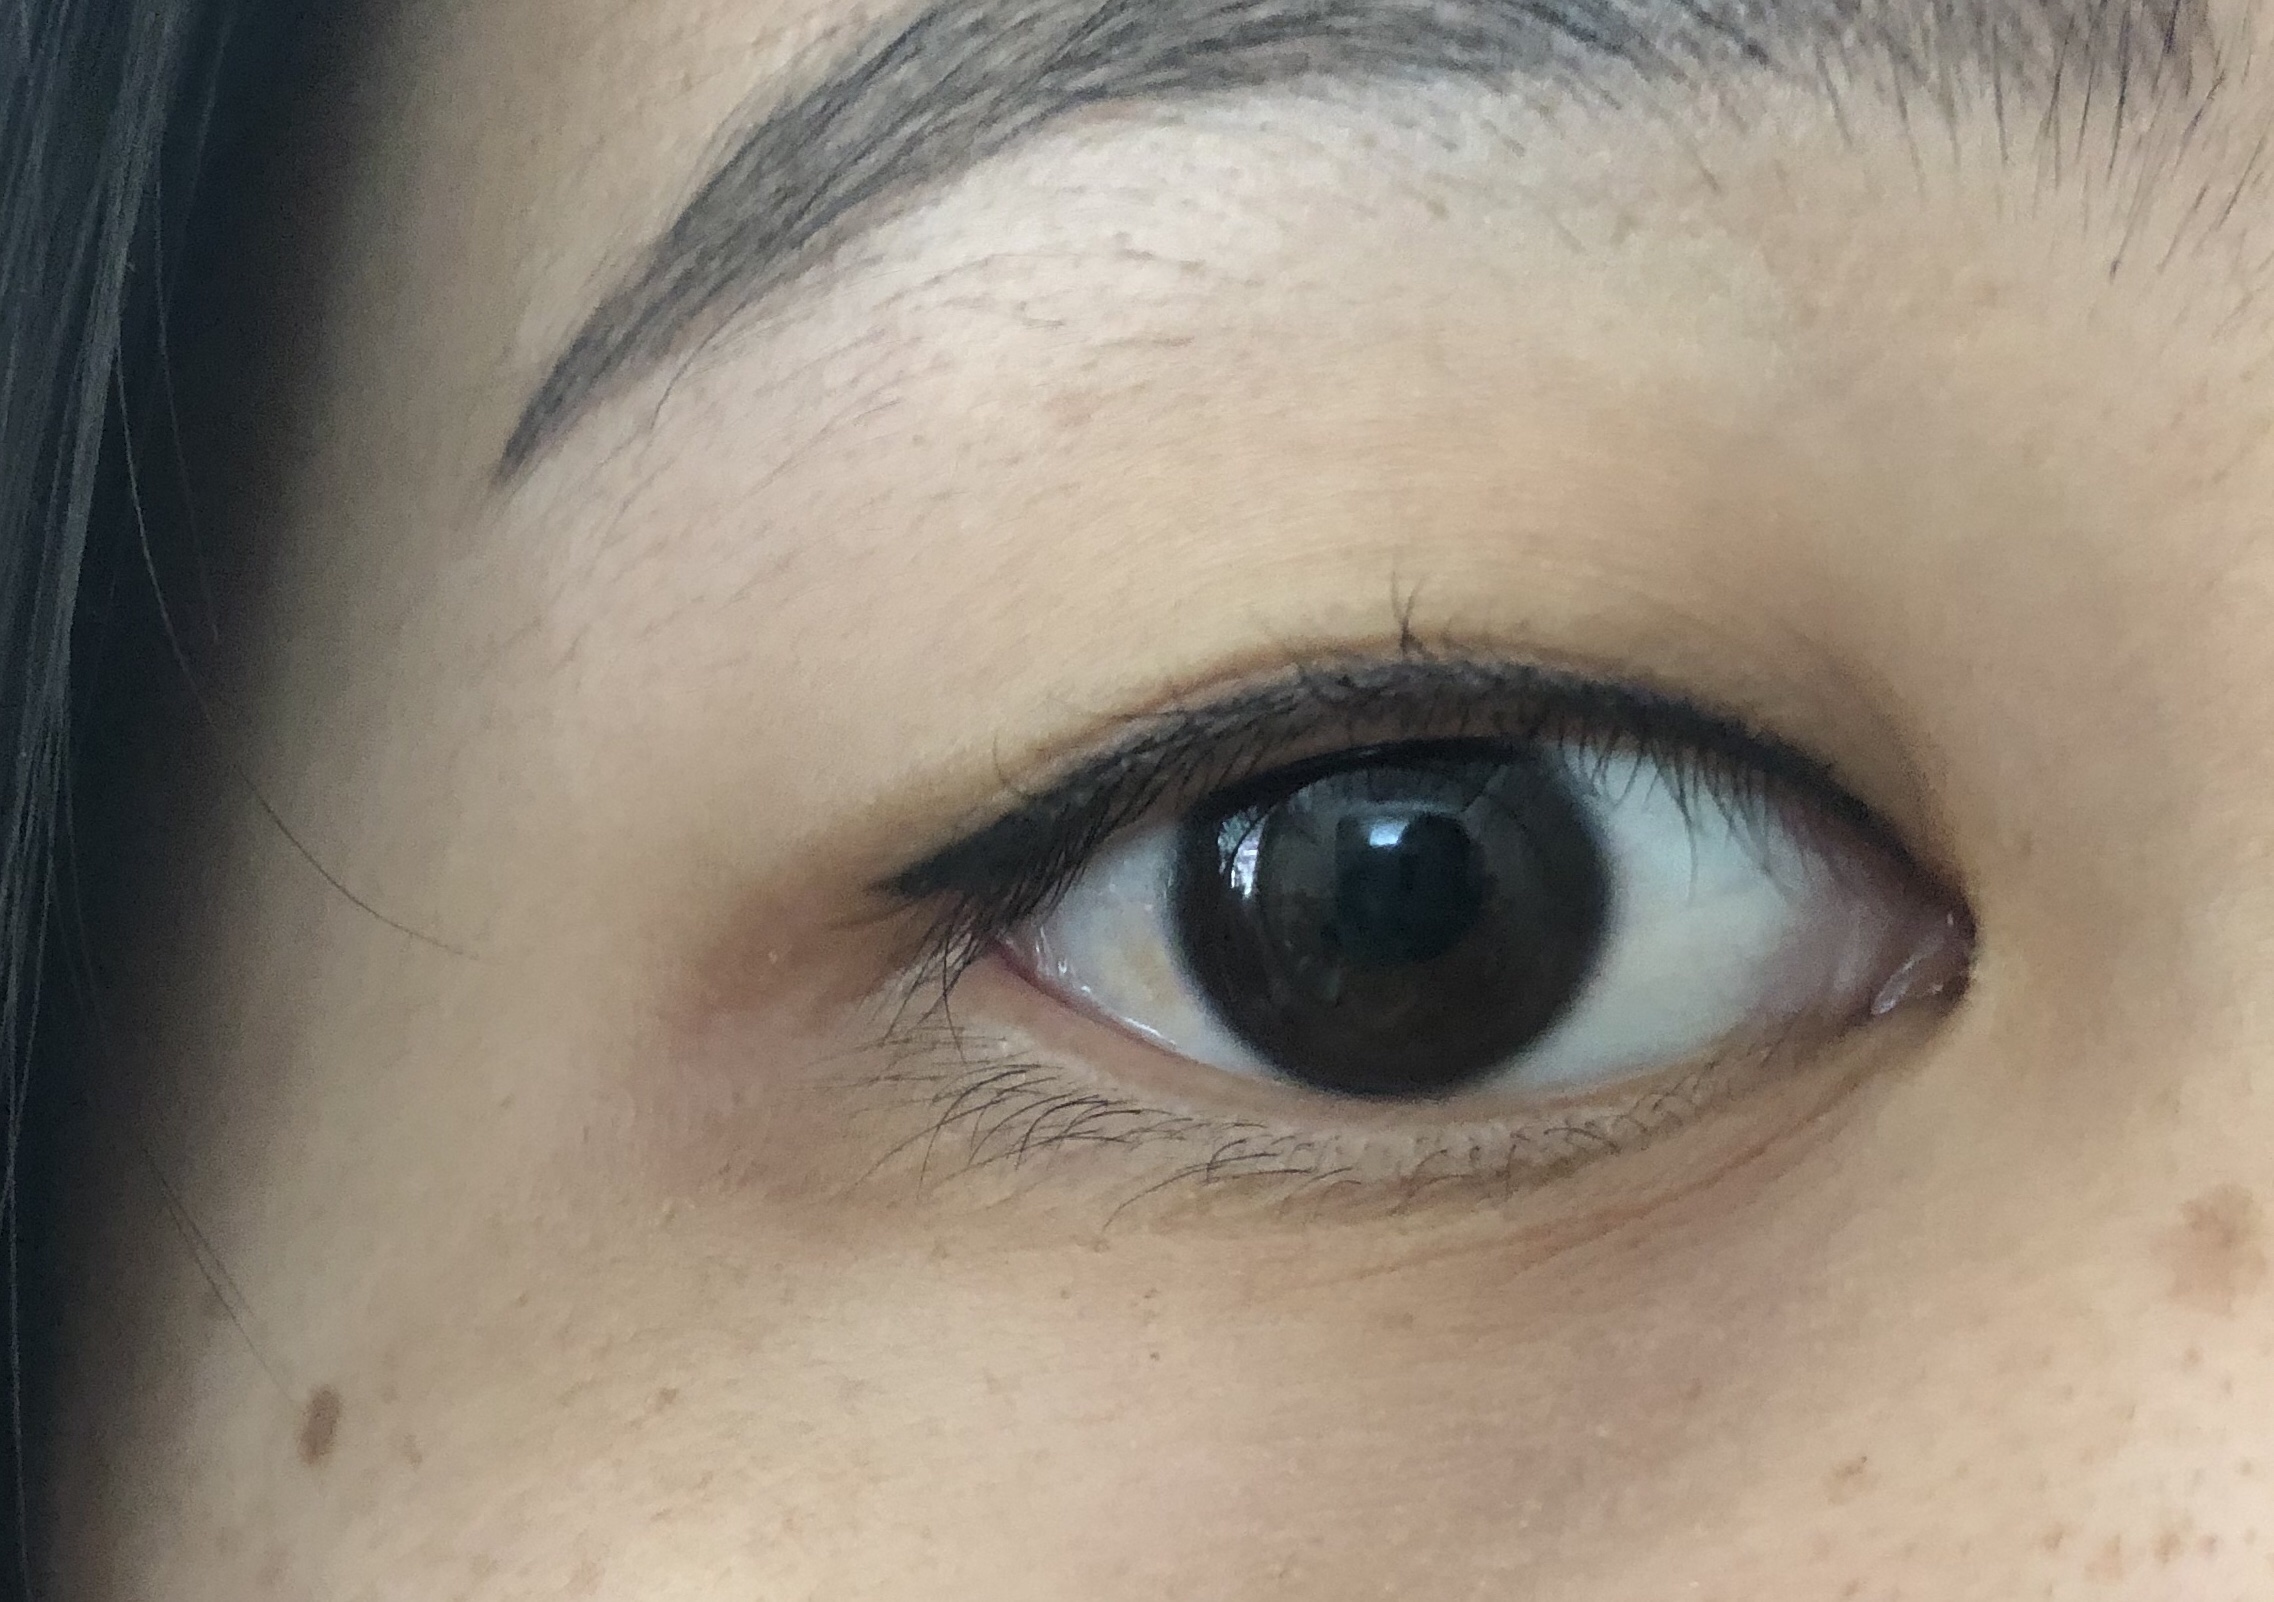
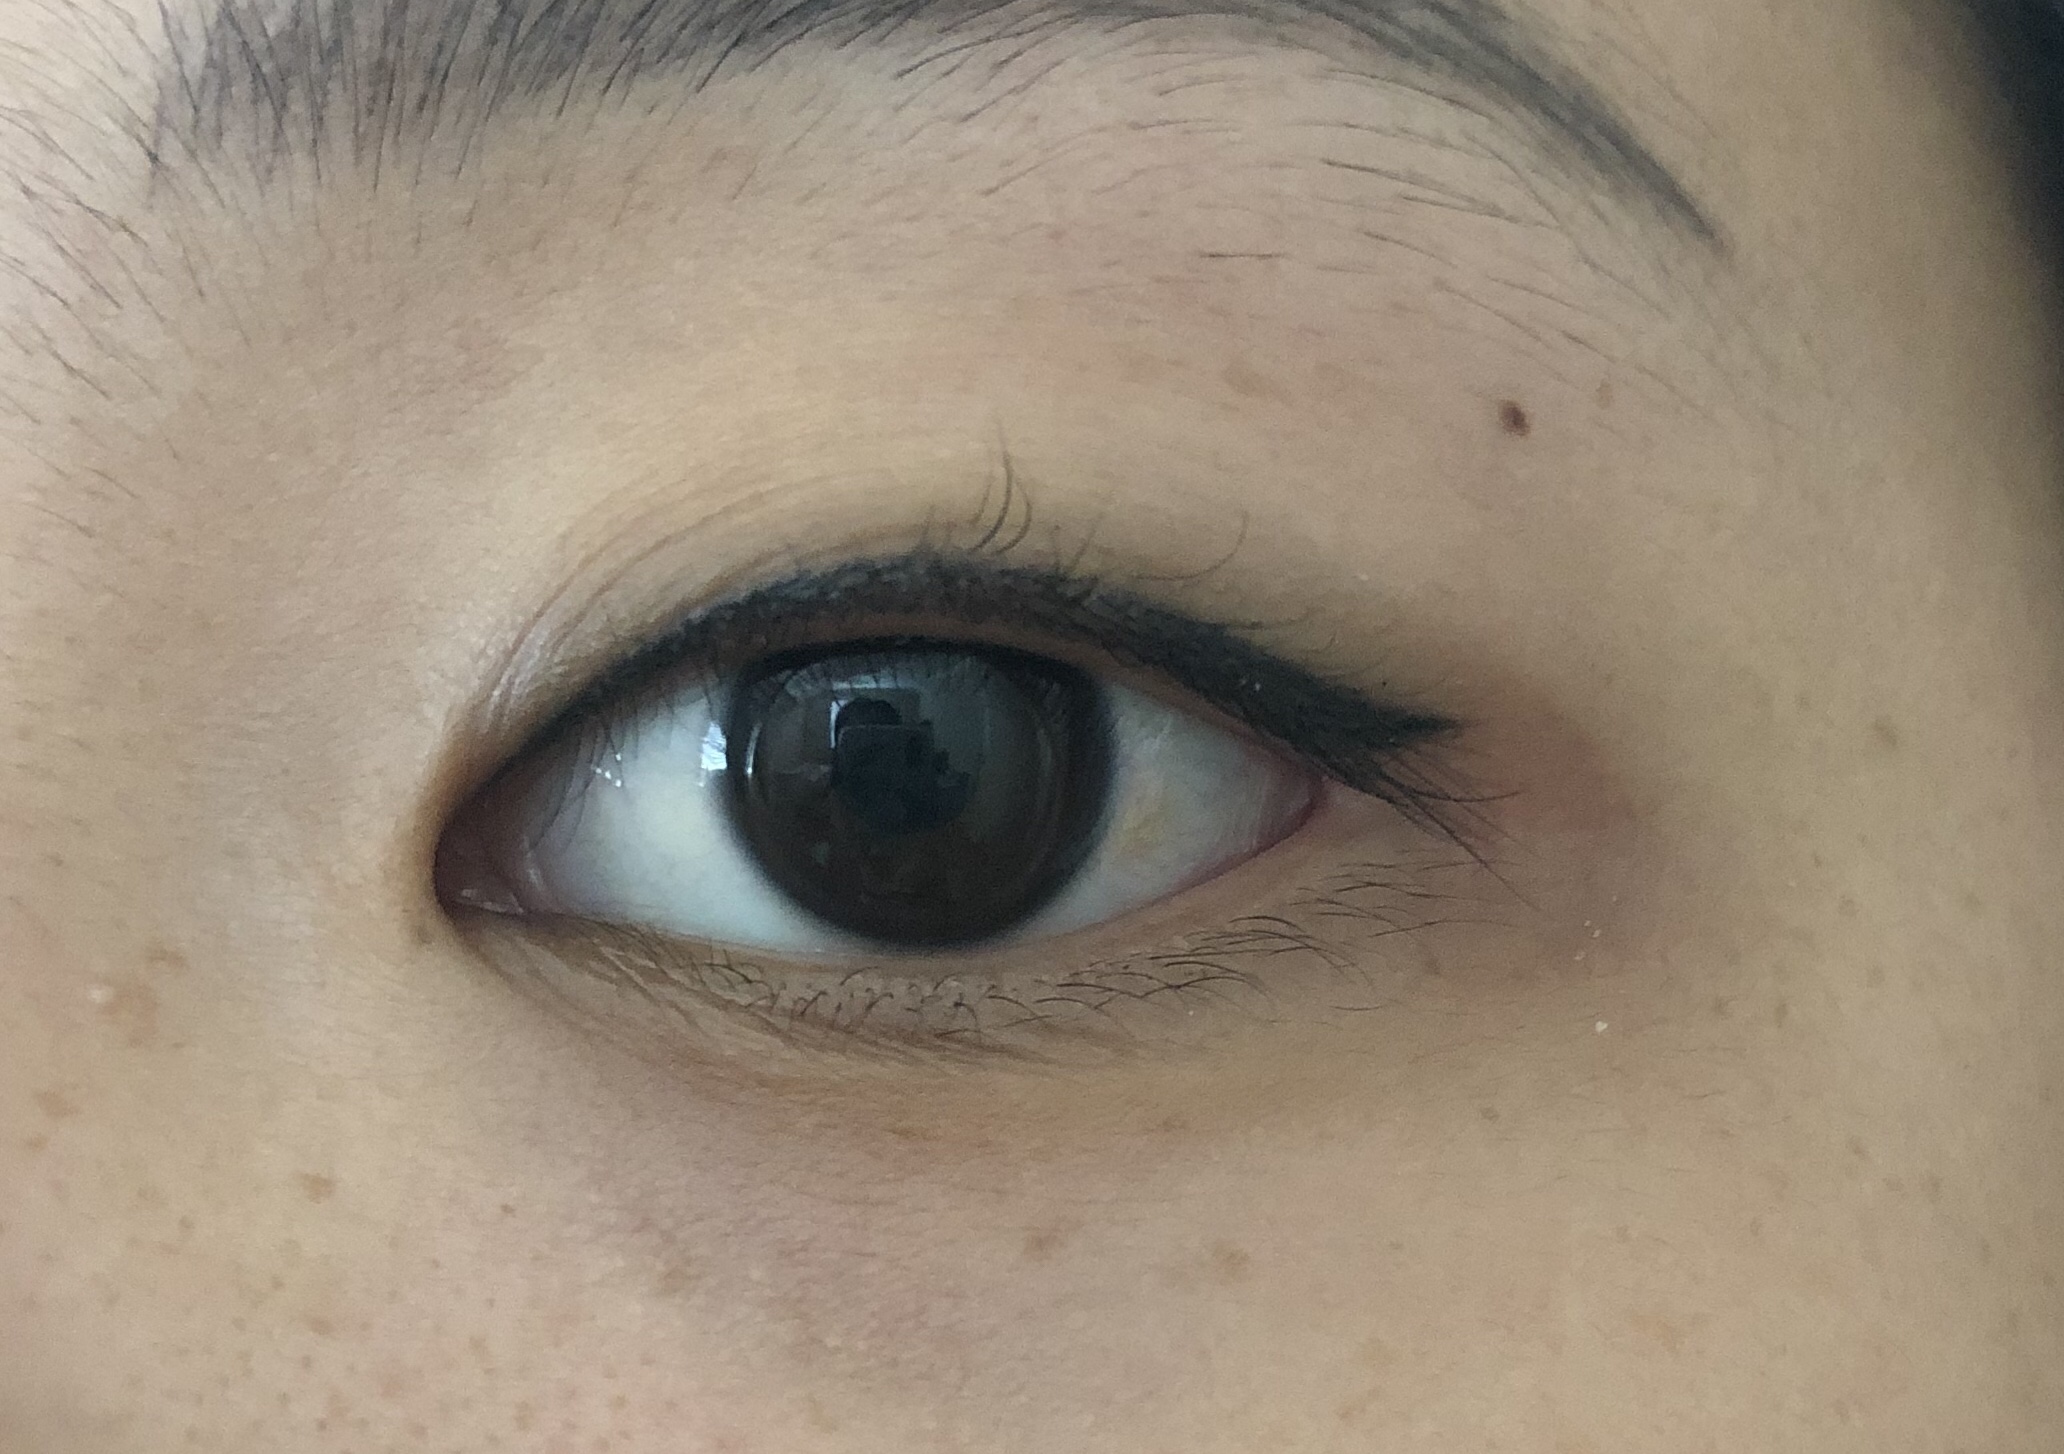
The Final Results!
I had Soo thicken the eyeliner just a tad and to sharpen the right wing to match the left. And she did 🙂 You can see that parts in the middle are lighter, but overall I’m happy with the results!
THE END! (Until 2-3 years from now). Thanks for following along in my eyeliner tattoo journey. I’ve been as transparent as possible about the process so hopefully it helps some people make decisions on whether or not to pursue this. I LOVE my eyeliner and how I can simply add a bit of regular eyeliner anytime I want to enhance or dramatize my eyes. Otherwise, this is a perfect every day look to make my eyes brighter and bigger without the effort. Now I need to pluck some of my stray eyebrow hairs.
xx Sam